3D Printed Fishing Lures: What Actually Works
3D printed fishing lures explained: what a printable wobbler needs, why through-wire and epoxy sealing are required, and what dive depth really means.
Auf Deutsch: Angelköder selber machen — gießen, schnitzen, drucken
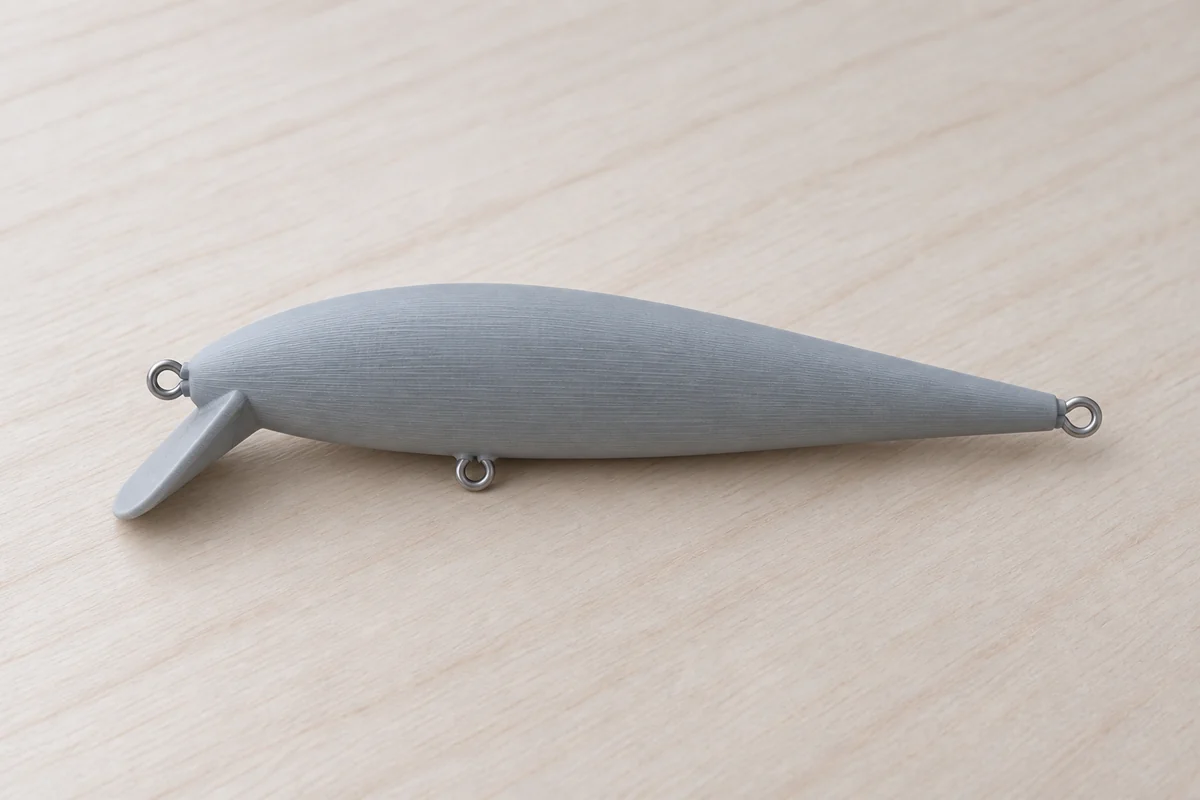
3D printing turned fishing lure design from a niche craft skill into something anyone with a printer and a few hours can try. This guide covers what actually makes a 3D printed lure work: the design decisions that matter, the two steps that are not optional, and the physics you can't print your way around.
Why print your own lures
A 3D printer changes three things about building lures. First, iteration: a failed shape costs an hour of print time and a few grams of filament, not a carved and sanded blank. Second, reproducibility: once a design works, the file reproduces it exactly, every time — no two hand-carved lures are ever quite the same, but two prints from the same file are. Third, ownership: you can design your own body shape, adjust it in software, and print it again with a small tweak instead of starting from scratch or paying someone else to make one prototype.
It also changes what "buying a lure" means. Instead of a finished object arriving in a blister pack, you get a file, a parts list and a set of instructions — the print and the build are yours. That trade-off is the whole point of this guide: what you gain in control, you take on in responsibility for finishing the lure correctly.
None of that replaces the water. A file is a starting point, not a finished lure — more on that in the tuning section below.
What a printable wobbler actually needs
A crankbait or minnow body designed for 3D printing looks different from one designed for injection molding or hand-carving. Four things matter structurally:
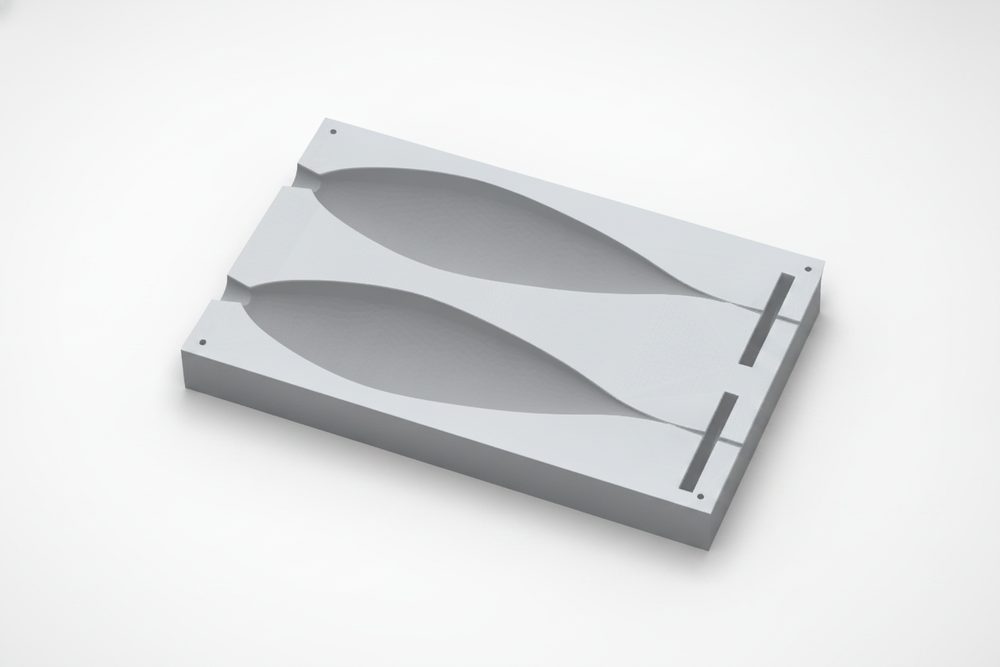
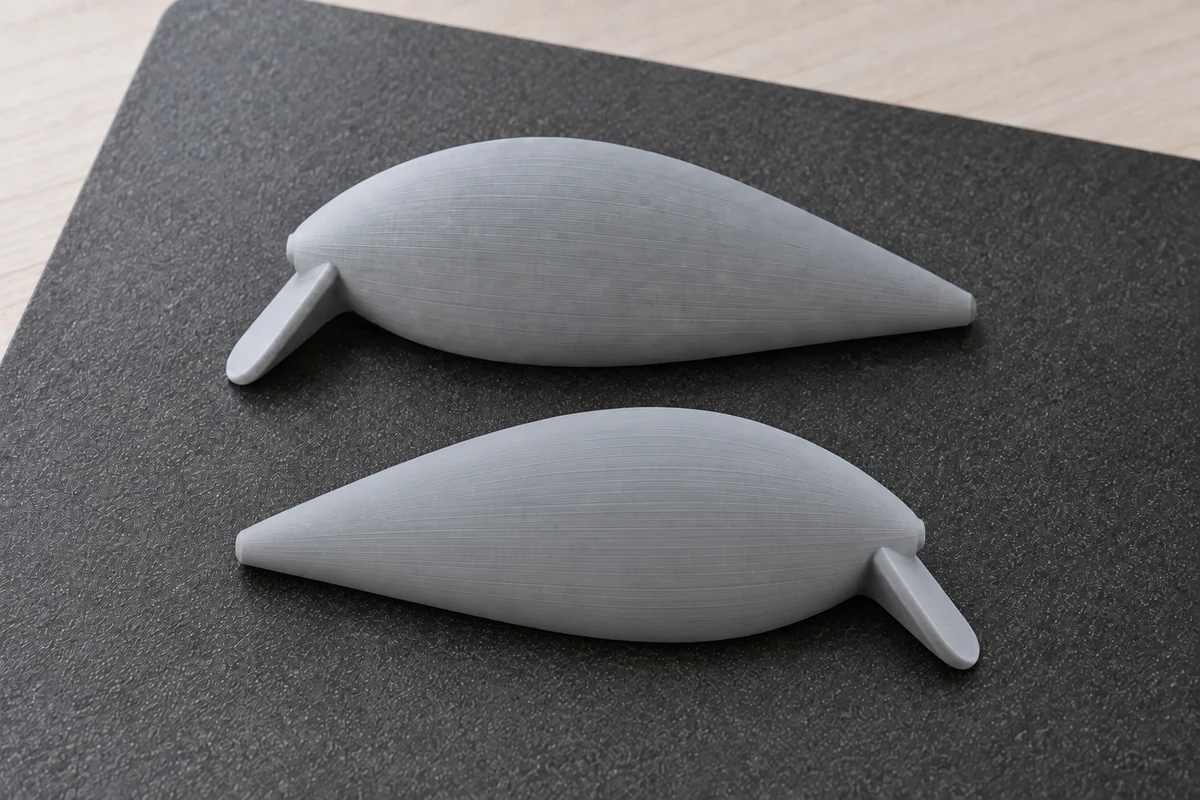
- A two-part body. The body splits along its centerline, nose to tail, into two halves that print flat on the cut face with no supports. The halves glue back together around the wire and ballast during assembly.
- A through-wire channel. A groove runs the length of the split face, from the nose eye to the tail eye, so a single stainless wire harness sits inside the joint line rather than relying on the plastic itself to hold hooks.
- Lip geometry. The diving lip's angle and length set the dive class and the action — a longer, steeper lip digs deeper and wider; a short lip stays shallow and tight.
- Ballast pockets. One or more cavities near the belly hold weight for casting distance, stability and, on sinking models, sink rate. Floating models typically carry less ballast than sinking ones of the same size.
You can see all of this in practice in the lure configurator, which builds a two-part body from six parameters: length, body shape, dive class, floating or sinking behavior, hook size and finish.
PETG or PLA — the short version
PETG is the better default for lures: it takes impact better and holds up longer once it's wet. PLA prints fine and will fish, but it's more brittle underwater over time, so seal it just as carefully and expect a shorter working life. The full trade-offs, including print settings for each, are in our PETG vs PLA comparison.
What you actually get in the file
A lure design here isn't a single STL. It's a small package built around the two mandatory steps above: the two body-half STLs plus a pre-oriented 3MF with a print profile already set — both halves laid flat on the cut face, no supports needed, ready to open in Bambu Studio, PrusaSlicer, Cura or OrcaSlicer. Alongside the print files sits a parts list (treble hooks, split rings, stainless wire, ballast metal), the assembly and sealing guide, and the tuning guide. Every part is sized to fit a 220 × 220 mm bed, so it prints on an entry-level machine as easily as a larger one.
None of that turns printing and building into a five-minute job. Budget time for the print itself, the wire and glue-up, and the epoxy cure — this is a weekend-project pace, not an unbox-and-fish product.
The two steps that are not optional
Every printable lure design has two steps that are required, not suggestions. Skip either one and the lure fails on the water, not just cosmetically.
Stainless through-wire. FDM prints don't hold a screwed-in eye reliably — the layer lines that make 3D printing possible are also its weakest point under sideways load. A continuous stainless wire harness, 0.8–1.0 mm, running from the nose loop through the belly and out the tail loop, means the fish pulls against wire, never against plastic. We cover the full bend-by-bend process in through-wire construction.
Epoxy sealing. A raw FDM print is not watertight — water creeps into the layer lines and the lure waterlogs or delaminates. Two thin coats of 2-part epoxy over the finished body close that off. The full process, including the mistakes to avoid, is in how to seal 3D printed lures.
Ballast: tungsten, steel or brass — never lead
Lead is the traditional ballast metal in commercial lures, and it's the wrong choice here. It's restricted under REACH for many consumer uses and outright banned in a growing number of fisheries and protected waters, and it's toxic to wildlife if a lure is lost and later ingested. Use tungsten, steel or brass instead. Tungsten is denser — more weight in less space, useful in a small body — while steel and brass are cheaper and easier to source. Start with the weight a design's parts list states, then fine-tune by testing on the water rather than guessing at a heavier number up front. Whatever you use, fix it in place with a drop of epoxy so it can't rattle loose inside the body.
The honest physics of small floaters
Buoyancy on a small printed lure is tighter than it looks on paper. A small floating body — a 5 cm minnow is the extreme case — displaces very little water to begin with, and a PETG shell plus a stainless wire harness, ballast and hardware can weigh close to that same amount. There isn't much margin left over to actually float. That's why print profiles for floating models specify light infill, around 10–15%: more plastic in the walls is more weight, and on a small floater that weight comes straight out of the buoyancy budget. If a floating print barely floats or sits too low, the fix is usually less infill or less ballast, not a different design.
This isn't a reason to avoid floating designs — it's a reason to respect the margin. Larger floating bodies have more room to work with.
Dive depth is a class, not a promise
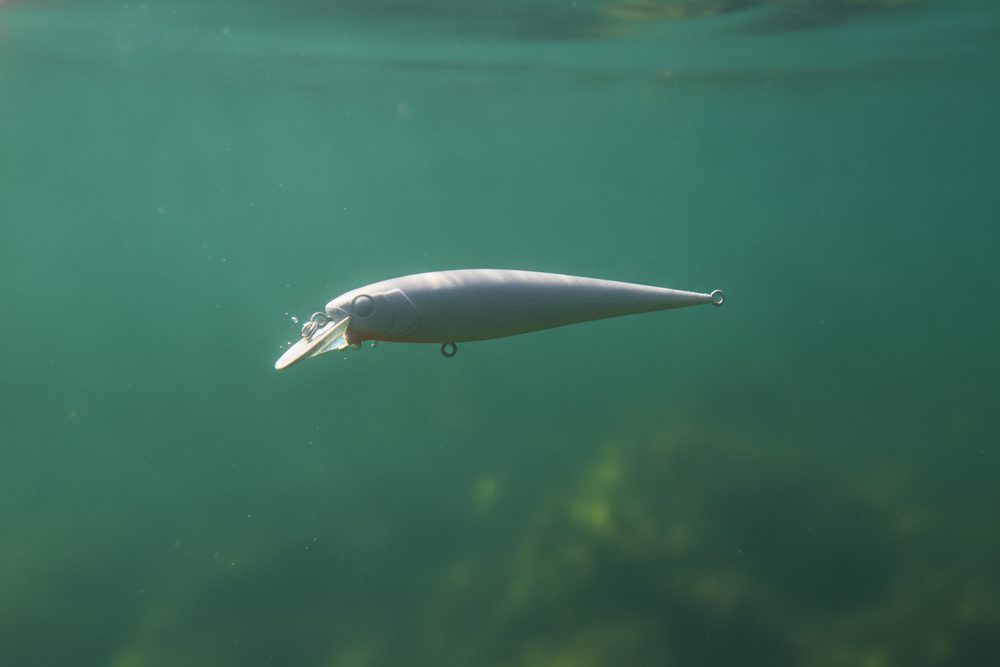
Every lure design here states depth as a class with a range — shallow (under 1 m), medium (1–2 m) or deep (2–4 m) — never as an exact figure. That's not caution for its own sake; it's how diving lures actually behave. Line diameter, retrieve speed, rod tip position and how well the lure is tuned all shift the real depth up or down within, and sometimes past, its class. A mid-depth floating minnow, our own Drifter design among them, is built for its 1–2 m class at a steady medium retrieve — thinner line and a longer cast push it deeper; a fast retrieve or a high rod tip pulls it shallower.
Tuning on the water
No hand-assembled lure runs perfectly straight out of the bag — printed, carved or injection-molded, they all need a first-run check. Cast it, retrieve at a steady medium pace, and watch the first few meters. If it pulls to one side, bend the tow eye a fraction of a millimeter in the opposite direction with pliers and test again, in small steps, until it runs true. Never bend the lip itself. This is a normal five-minute step, not a sign that something went wrong.
For a floating model, correct assembly and sealing should have it rise at rest; if it barely floats, that's usually the infill or ballast question from the buoyancy section above, not a tuning problem. A sinking model counts down at roughly its own pace — counting it down ("one-thousand-one…") before you start the retrieve is how you fish it to a consistent depth band.
Basic care after the trip
Rinse the lure after use, always after salt water, and check the epoxy seal for chips or scrapes — reseal small damage early rather than letting water find its way in through a nick. Check hook points regularly and replace trebles once they've gone rusty. None of this is specific to printed lures, but it matters more here: the seal is doing a job a molded lure's plastic doesn't need done for it.
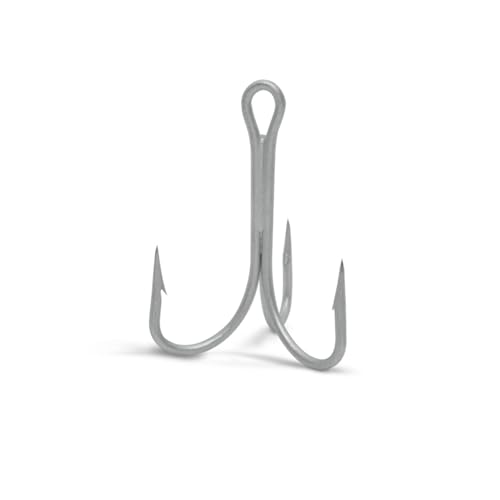 Treble hooks (VMC)Your parts list names the exact size — #6, #4 or #2.
 2K epoxy, crystal clear (500 ml)The required sealing step — one small kit covers many lures.
 PETG filament 1.75 mmThe material we design for — tough, water-safe, easy to print.
Frequently asked
Do 3D printed lures actually work?
Yes — a printed body behaves like any hand-built lure once it's assembled correctly. The plastic itself isn't the hard part; the through-wire harness and the epoxy seal are what make it function in water, not just look like a lure.
Is PETG or PLA better for lures?
PETG is the safer default: better impact resistance and better long-term water resistance. PLA works and is fine to start with, but seal it carefully and expect it to age faster once wet.
Can I skip the through-wire and just print solid hook mounts?
We treat through-wire as a required step, not an optional one. FDM layer adhesion is the weak point of any printed part, and a fish pulling on a screwed-in eye pulls straight against that weak point. Through-wire moves the load onto continuous stainless wire instead.
Why won't you tell me my lure will run at exactly 1.4 meters?
Because it won't, reliably — no diving lure does. Line diameter, retrieve speed and tuning all shift depth within its class. We publish a class and range, for example medium at 1–2 m, instead of a number we can't guarantee.
Can I use lead for ballast?
No. Use tungsten, steel or brass. Lead is restricted for many consumer uses under REACH and banned outright in a growing number of fisheries, and it's toxic to wildlife if a lure is lost.
Every Fishing3D file ships with the guides that match it — print profiles, assembly, sealing, tuning. Ordering opens soon — leave your email for a single heads-up.