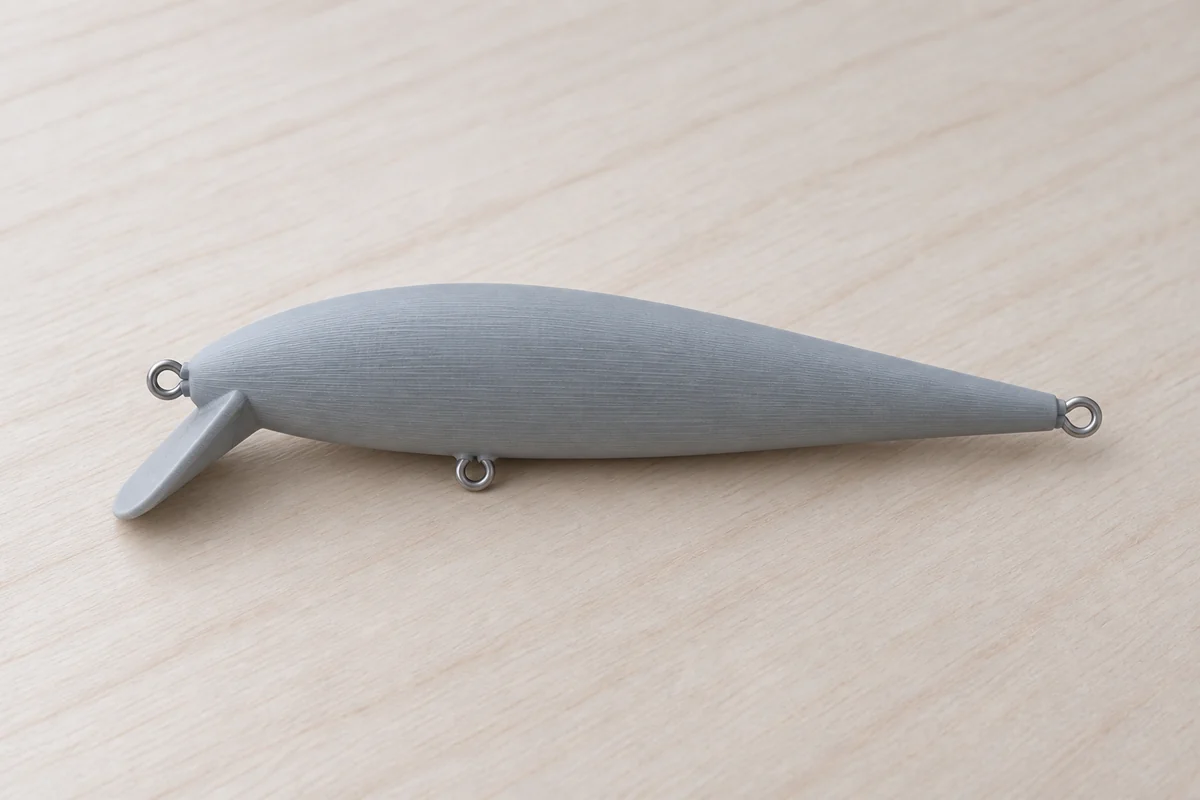
How to Seal 3D Printed Fishing Lures (Epoxy Guide)
How to seal 3D printed fishing lures with epoxy: why FDM prints need sealing, the two-coat technique, cure times, and mistakes that cause waterlogging.
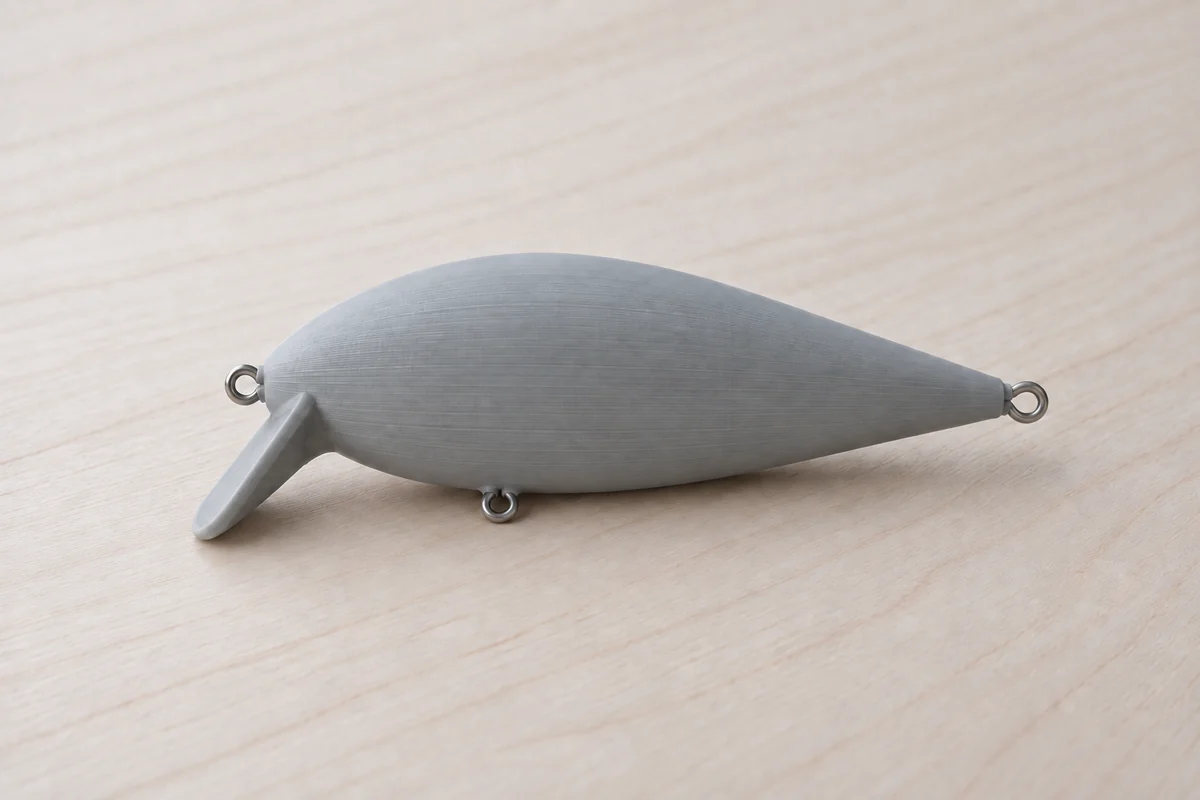
A raw 3D print, however well designed, is not a finished lure until it's sealed. This is the step people skip when they're in a hurry to get on the water, and it's the reason skipped prints show up waterlogged or delaminated a few trips later. Here's what an epoxy seal is actually doing and how to get it right.
Why FDM prints need sealing at all
Fused-deposition printing builds a part as stacked lines of melted plastic. The surface between those lines is microporous, not a solid wall the way a molded or carved part is. Water finds those layer lines and creeps in slowly, whether or not the surface looks smooth to the eye. Left unsealed, a printed lure absorbs water over repeated trips: it gets heavier, sits lower or sinks when it should float, and in the worst case the layers themselves separate under the pressure and flex of casting and fighting a fish. Sealing closes that surface before it ever gets wet. It's covered as a required step, not a tip, in our guide to what a 3D printed lure needs, alongside through-wire — the two together are the difference between a shape and a lure.
What you're sealing with
Use a 2-part epoxy, not a spray sealant or a single-part varnish. Epoxy cures into a hard, continuous film that bonds to PETG or PLA and bridges the layer lines rather than just sitting on top of them. A 30-minute epoxy gives more working time to lay an even coat; a 5-minute epoxy sets fast but is easy to apply unevenly if you're not quick. Either works — pick based on how comfortable you are working against the clock.
Mixing ratio matters more than most people expect. Most 2-part epoxies need a close-to-exact 1:1 (or specified) ratio of resin to hardener — eyeballing it is the most common reason a coat stays tacky or cures soft. Use the graduated markings on the syringes or cups the epoxy comes with, and mix thoroughly for the full time the label specifies before you start brushing it on.
Two thin coats, not one thick one
The instinct is to flood the body in one heavy coat and be done. Don't. A thick coat sags, pools around the lip and belly, and cures unevenly, adding weight in the wrong places and leaving drips that need sanding off anyway. Two thin coats, each covering the full body and lip, level out better, cure more evenly, and add less unwanted weight than one thick pass. Let the first coat cure before applying the second.
Prep before you coat
Degrease the body first — handling oils and print residue keep epoxy from bonding evenly. A quick wipe with isopropyl alcohol is enough. Lightly sand the seam line and any rough layer areas with 240–400 grit paper so the epoxy has something to key into rather than sitting on a slick surface. If you're painting the lure, paint first and seal after — the epoxy coat goes over the paint, not under it. Mask off, or otherwise keep clear of, the three wire loops at nose, belly and tail — see through-wire construction for how they're formed. Epoxy inside a loop closes the gap you need for split rings later.
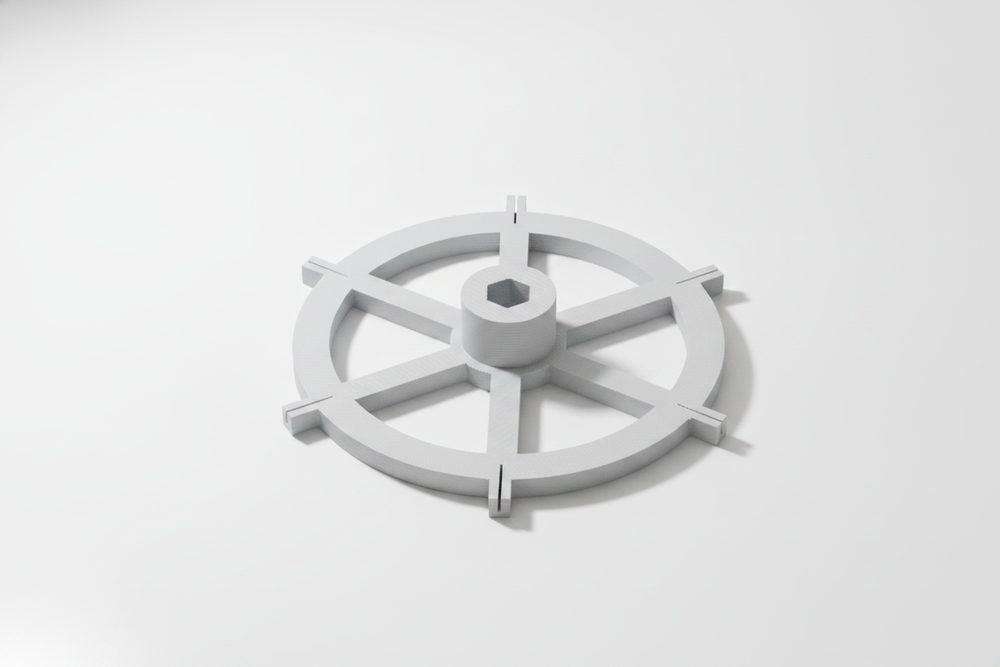
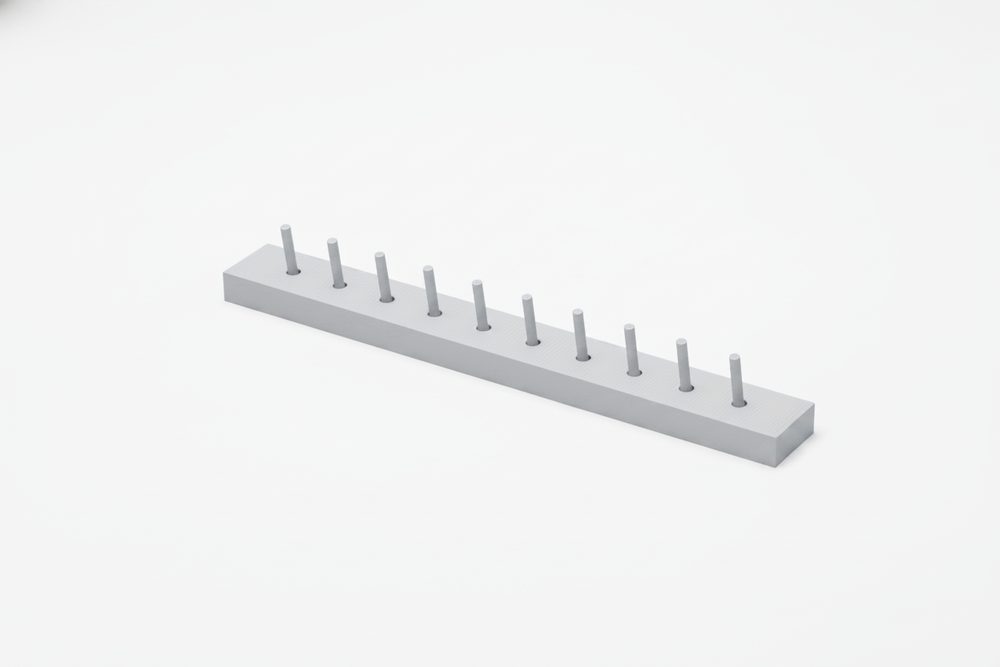
Why rotation matters while it cures
Epoxy stays liquid enough to move for a while after you apply it. Left still, gravity pulls it downward and it pools at the belly or drips off the nose, leaving a heavy ridge on one side and a thin patch on the other. Turning the lure slowly and continuously while it sets keeps the coat even all the way around — the same reason rotisserie ovens exist. Hand-turning every few minutes works for one or two lures. If you're sealing a batch, a small motorized rack does the turning for you; there's a printable drying wheel sized for six lures at once if you'd rather not stand there rotating them by hand (motor not included).
Respect cure times
Read the epoxy's full cure time, not just its working time — a 5-minute epoxy is workable in 5 minutes but isn't fully hard for hours, and even a "cured" surface often keeps hardening for a day or two after that. Handle the lure gently until then, and don't fish it until the epoxy has reached full cure. Coating over a soft under-layer, or fishing a lure before the seal has hardened, undoes the point of sealing it in the first place. Product labels vary, so treat the manufacturer's stated cure time as the number that matters, not a general rule of thumb.
Common mistakes
- Too thick. One heavy coat instead of two thin ones — sags, uneven weight, longer cure.
- Dust and debris. Epoxy stays tacky long enough to catch dust, hair and stray fibers. Work somewhere clean and cover the lure while it sets if you can.
- Into the water too soon. Fishing a lure before full cure risks marking or denting a seal that hasn't hardened yet — check the product's stated cure time and wait it out.
- Sealing over grease or dust. Skipping the degrease-and-sand step gives the epoxy a weaker bond and a shorter working life.
Safety
Work gloved — uncured epoxy is a skin irritant for most people with repeated contact. Work in a ventilated space; resin and hardener both off-gas while curing. Keep it away from food surfaces and out of reach of kids and pets until fully cured.

Frequently asked
Can I skip sealing if I only fish freshwater?
No — the porosity problem is the print itself, not the water type. Fresh or salt, an unsealed FDM print absorbs water and eventually waterlogs or delaminates.
How many coats of epoxy do I actually need?
Two thin coats, applied one after the other with a cure in between. One thick coat sags and cures unevenly; three or more just adds unnecessary weight.
Can I use polyurethane or a spray sealant instead of epoxy?
Our guides specify epoxy because it bonds well to PETG and PLA and bridges layer lines with a hard, continuous film. We haven't tested spray sealants or polyurethane coatings for this use, so we can't recommend swapping it in.
Do I need to seal the wire loops too?
No — keep them free of epoxy. Loops sealed shut close the gap you need to attach split rings and hooks after curing.
What if I already fished an unsealed print?
Dry it out, check for soft or swollen spots, and seal it before the next trip. A lure that's taken on water can usually still be salvaged if it hasn't delaminated.
Every Fishing3D file ships with the guides that match it — print profiles, assembly, sealing, tuning. Ordering opens soon — leave your email for a single heads-up.