Through-Wire Construction for 3D Printed Lures — Why It's Required
Through-wire construction for 3D printed fishing lures: what it is, why layer-bonded prints need it, how to bend clean loops, and which wire gauge to use.
Through-wire is the one construction step in a 3D printed lure that has no shortcut. This guide covers what it is, why printed bodies specifically depend on it, and how to get the bends right.
What through-wire is
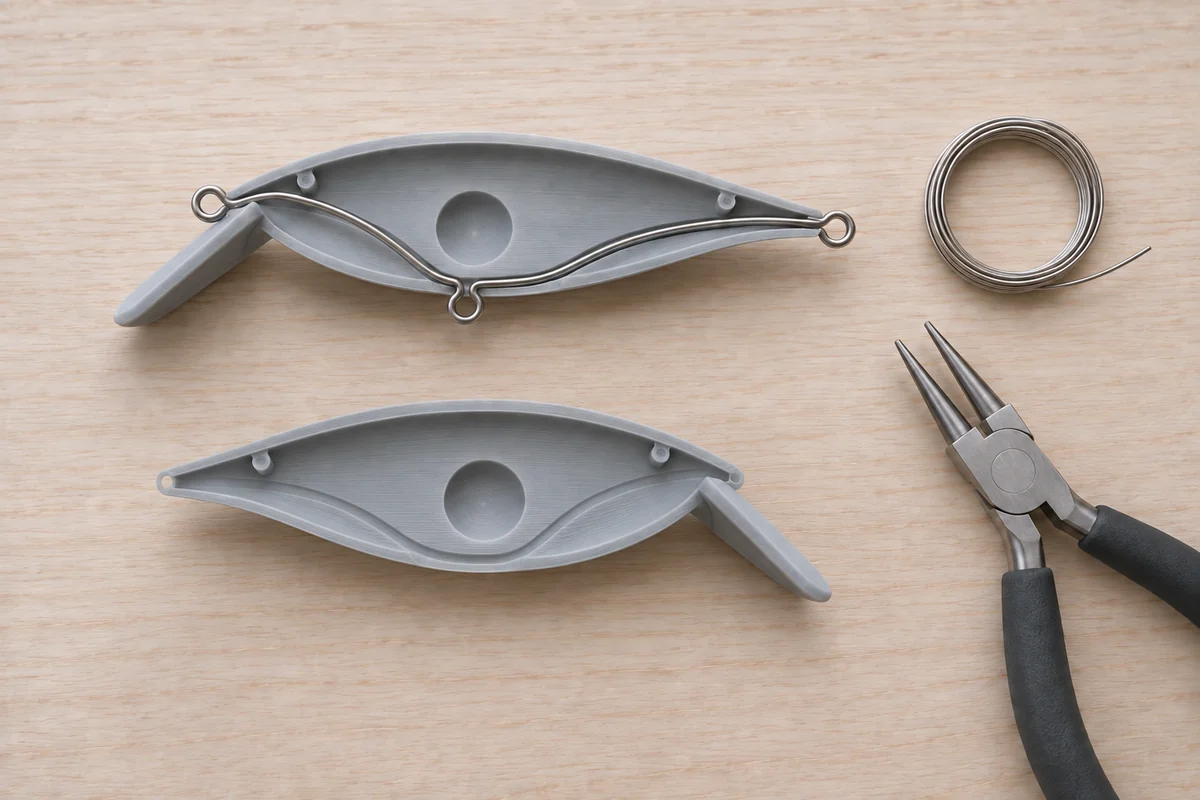
Through-wire construction runs a single length of stainless steel wire, 0.8–1.0 mm, from a loop at the nose, down through the body, and out to a loop at the tail, with a third loop where the belly hook hangs. Instead of hooks and line attaching to eyes screwed or glued into the plastic, they attach to loops formed in one continuous piece of wire that passes all the way through the lure. It's a technique borrowed from traditional hand-carved wood and cork lure making, where it solves the same problem: soft body material and hook-holding hardware don't mix well without it.
Why it's not negotiable on a printed body
An FDM print is built as stacked layers of melted plastic bonded to each other. That bond is the printed part's weakest point under load — a screwed-in eye or a glued anchor puts a fish's full pulling and jerking force directly onto that bond, right at a small stress point. It's the printing equivalent of relying on wood grain: fine most of the time, until the one hard hookset or big fish finds the weak axis. Through-wire routes that same force onto a continuous piece of stainless steel instead, bypassing the plastic entirely. The fish pulls against wire, never against a print seam. That's why our lure designs treat this as a required build step, not an item on an optional parts list.
How the channel sits in the body
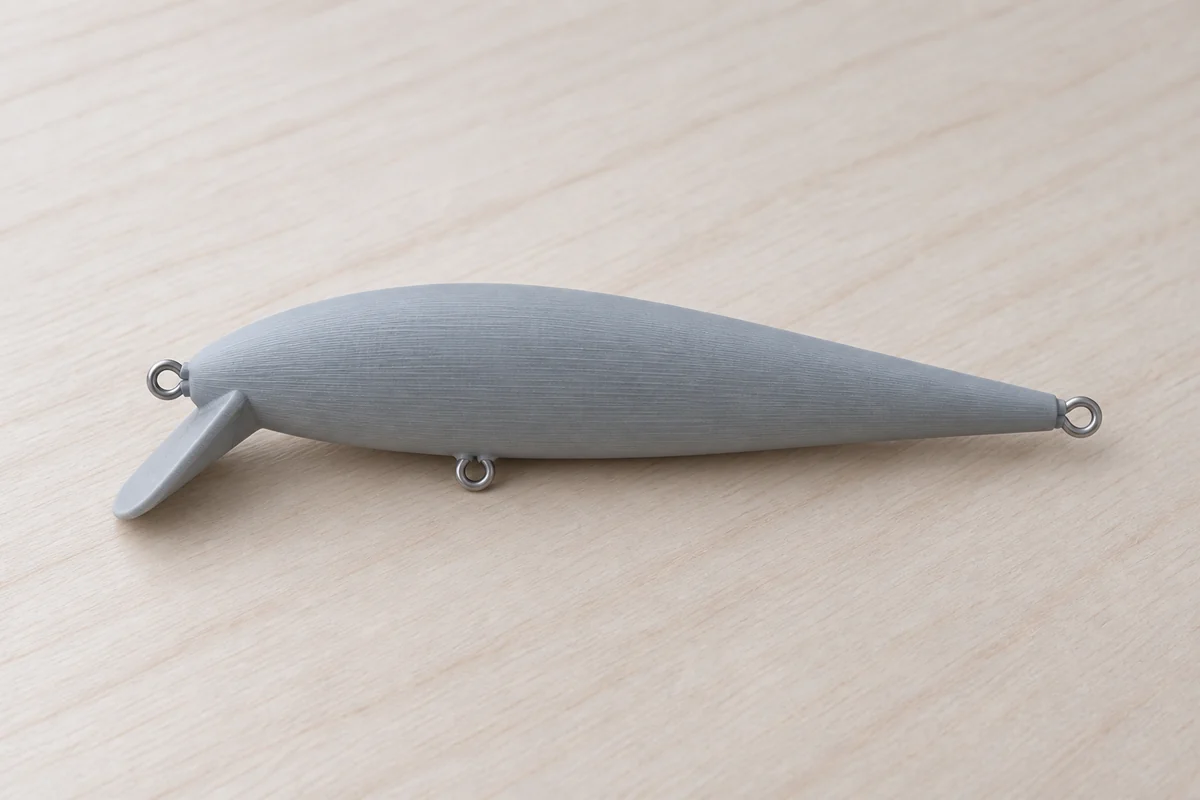
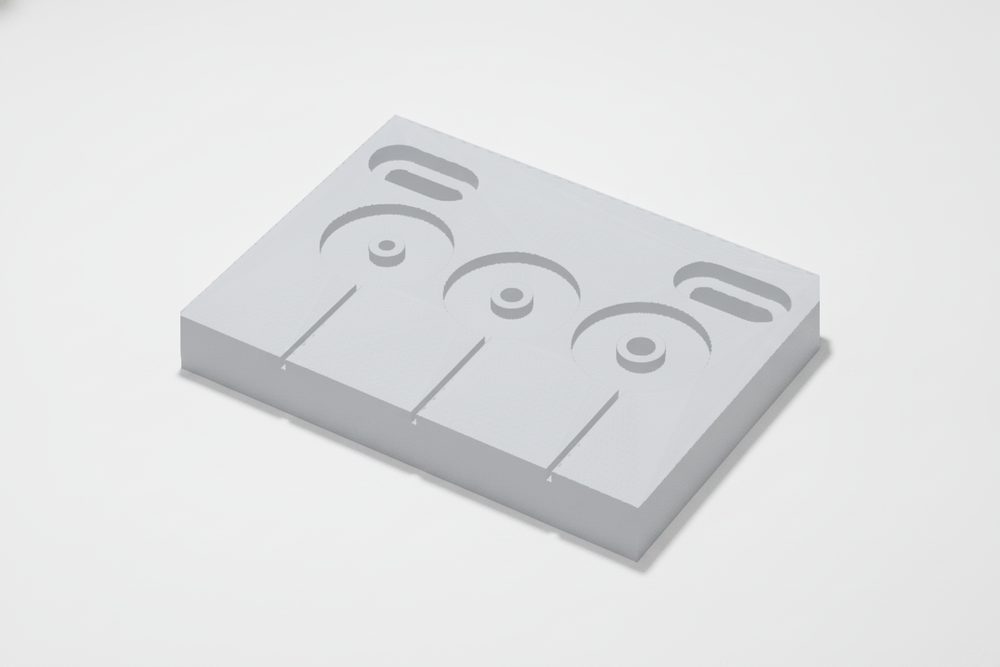
Printable lure bodies split into two halves along their centerline, nose to tail, so both print flat with no supports — the Drifter is one example built this way. A groove runs the length of that split face, following the body's profile from the nose eye, back through the belly, and out to the tail eye. The wire harness lays into this groove during assembly, and the two halves close around it. Epoxy along the seam — the same coat that seals the body — also fills in around the channel, which is part of why the halves are glued and sealed together rather than mechanically clipped.
Bending the loops cleanly
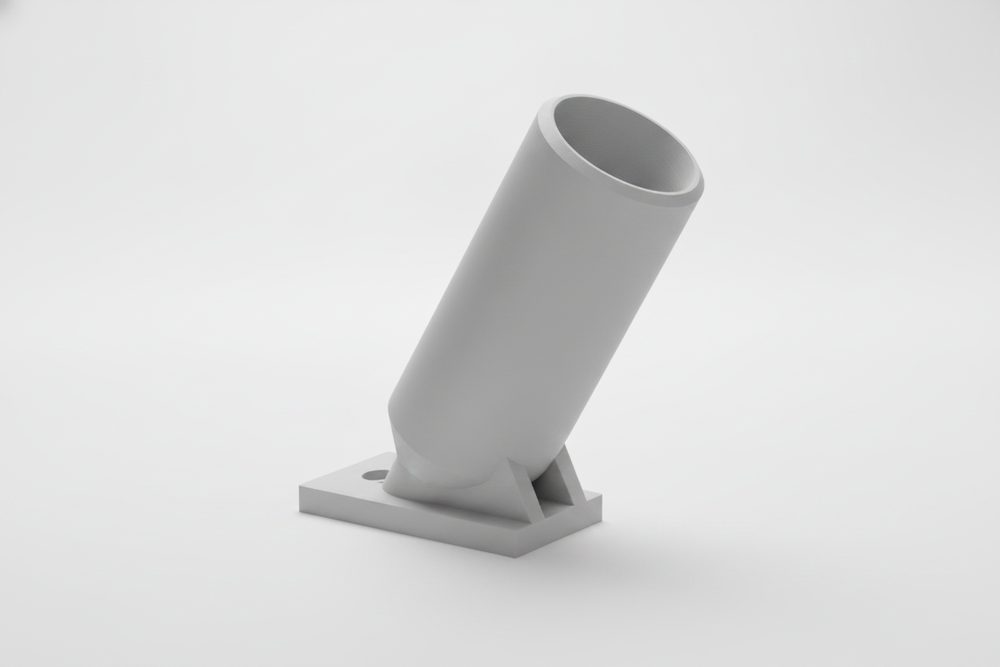
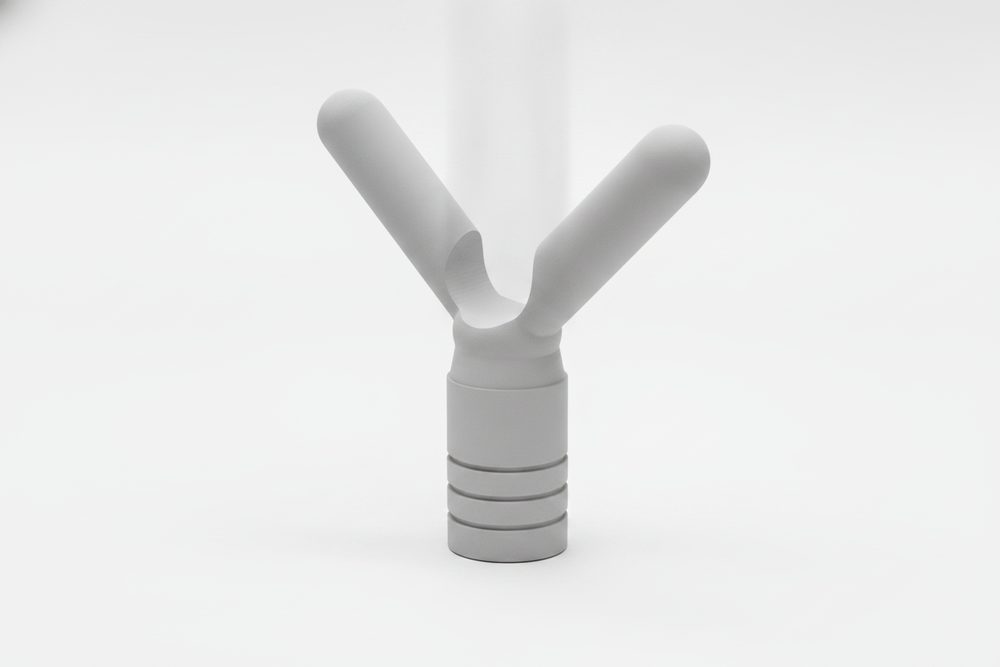
Three loops, one wire: a small tow eye at the nose, roughly 3 mm inner diameter, a belly hanger where the groove exits toward the belly, and a tail hanger at the very end. Round-nose pliers give the consistent curve you need — flat-nose pliers tend to leave a kink instead of a loop. Work slowly: form each loop, check it sits square to the wire, then move to the next. A wire-bending jig holds the wire at a fixed radius while you form the loop, which is the difference between three loops that match and three that don't — useful if you're building more than one or two lures. We print one ourselves; it's listed as a workshop tool alongside the other build-side files. Uneven loops aren't just cosmetic — a loop that's too open lets a split ring twist loose, and one that's too tight is hard to load hardware onto.
Choosing your wire
Stainless steel, 0.8–1.0 mm. Thinner wire is easier to bend by hand but flexes more under load and is the wrong choice for anything beyond very light tackle; thicker wire holds its shape better but takes more force, and a stronger jig or pliers, to bend cleanly. Avoid galvanized or plain steel wire — it corrodes in water, especially salt, in a way stainless doesn't. Gauge only matters once the metal itself is stainless.
Connecting the hardware
Once the wire's loops are formed and the body is glued and sealed, split rings go onto the belly and tail loops, and treble hooks go onto the split rings, sized to your build — commonly #6, #4 or #2. The tow eye at the nose takes your line directly, or a snap if you like to change lures without retying. None of this hardware touches the plastic body directly; it all runs through the wire.
Inspecting the finished harness
Before you close the body up for good, check the harness while it's still visible. All three loops should sit square to the wire, not twisted sideways — a twisted loop is where a split ring binds instead of swiveling freely. Run a finger along the wire in the groove and confirm it lies flat with no kinks standing proud where they'd catch on the epoxy coat later. If a loop looks uneven compared to the other two, it's easier to re-bend it now than after the halves are glued.
What happens if you skip it
Be honest with yourself about this one. A lure built with glued-in or screwed-in eyes instead of through-wire will often fish fine for a while, right up until it doesn't. The failure mode is a hookset or a hard headshake from a decent fish pulling an eye straight out of the print, usually at the worst possible moment. It isn't a slow leak you can catch early, like an unsealed seam — it's a sudden break, and it tends to happen on the best fish of the day, not a small one. Through-wire turns that failure mode from "eye pulls out of plastic" into "wire would have to fail," which is a much higher bar.
 Stainless wire 1.0 mm (304)For the required through-wire. Straight, formable, rustproof.
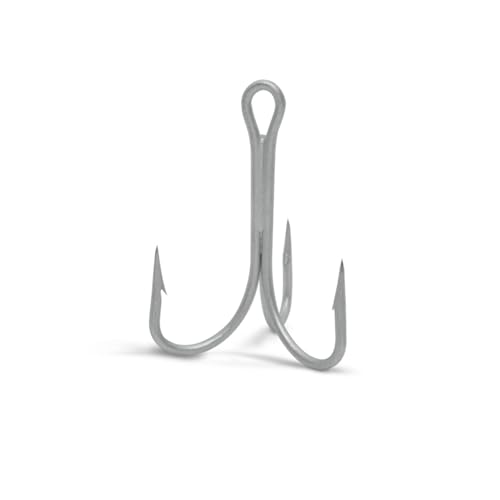 Treble hooks (VMC)Your parts list names the exact size — #6, #4 or #2.
 Stainless split rings 3–5 mmConnect hooks to the wire eyes — stainless only near water.
Frequently asked
Can I use screw-in hook eyes instead of through-wire on a printed lure?
We don't recommend it. Screw-in eyes rely on the plastic's layer bond to hold under load, which is the weakest point in any FDM print. Through-wire moves that load onto continuous wire instead.
What gauge wire should I use?
0.8–1.0 mm stainless steel for the sizes in our catalog. Thinner flexes too much under load; thicker is harder to bend cleanly by hand.
Do I need a wire-bending jig?
Not strictly — round-nose pliers and a steady hand work for one or two lures. A jig earns its keep once you're bending the same loop repeatedly and want them to match.
Why not just glue the wire in place instead of routing it through a groove?
A groove keeps the wire seated and straight while the halves close around it, and the epoxy along the seam locks it in place during gluing. Loose wire without a groove tends to shift before the epoxy cures.
Does through-wire affect how the lure swims?
Not meaningfully. The wire sits inside the body on the centerline, in the groove the design already accounts for. It adds a small, evenly placed amount of weight, not an imbalance.
Every Fishing3D file ships with the guides that match it — print profiles, assembly, sealing, tuning. Ordering opens soon — leave your email for a single heads-up.