
Lures you make yourself. Choose a design or configure your own, then print, assemble and seal it at home.
Prints on

 Check compatibility →
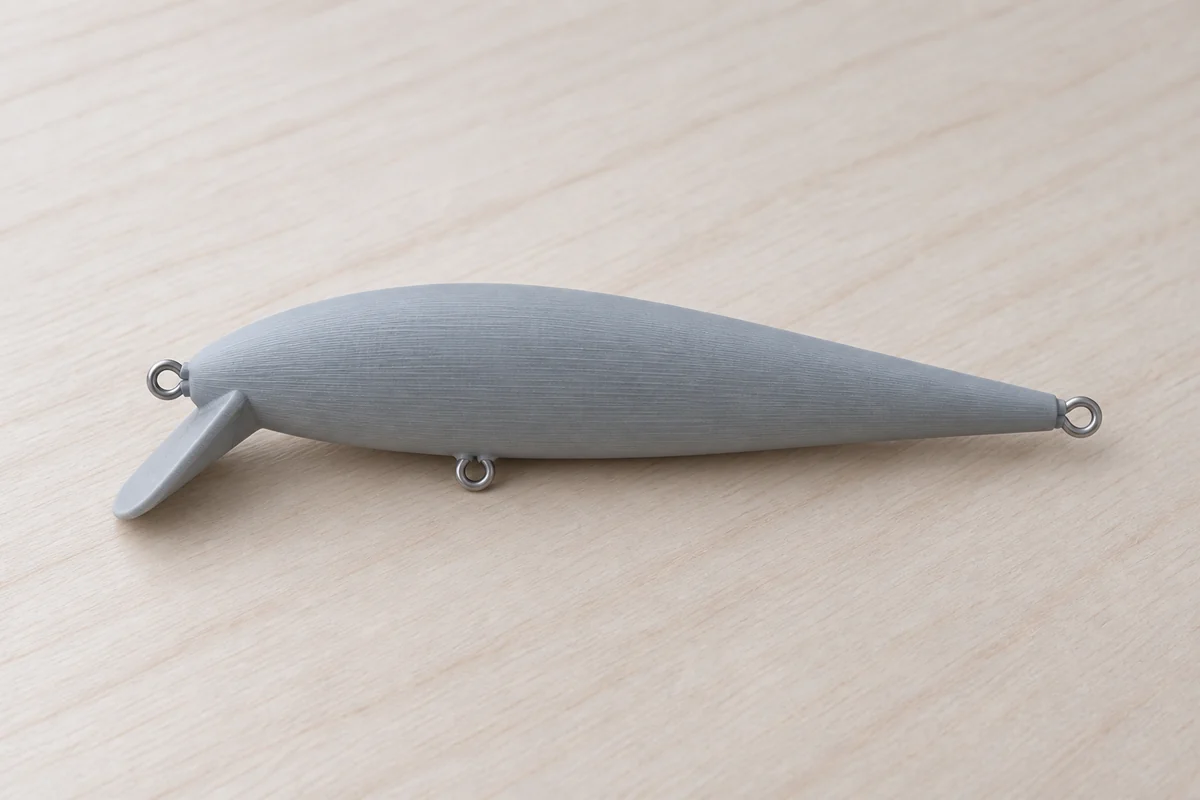
Product illustration. Explore the dimensions in live 3D.
Illustrations show each body and lip style. Open a model to explore its dimensions in 3D.
Surface lures. Stainless through-wire and epoxy sealing are required. Use tungsten, steel or brass for pencil tail ballast. Never lead.
Build a minnow or crankbait for the water you fish.
Every choice takes shape in 3D.
Assembly preview. Hardware purchased separately.
You get the files and guides. You supply the printer, filament and hardware.
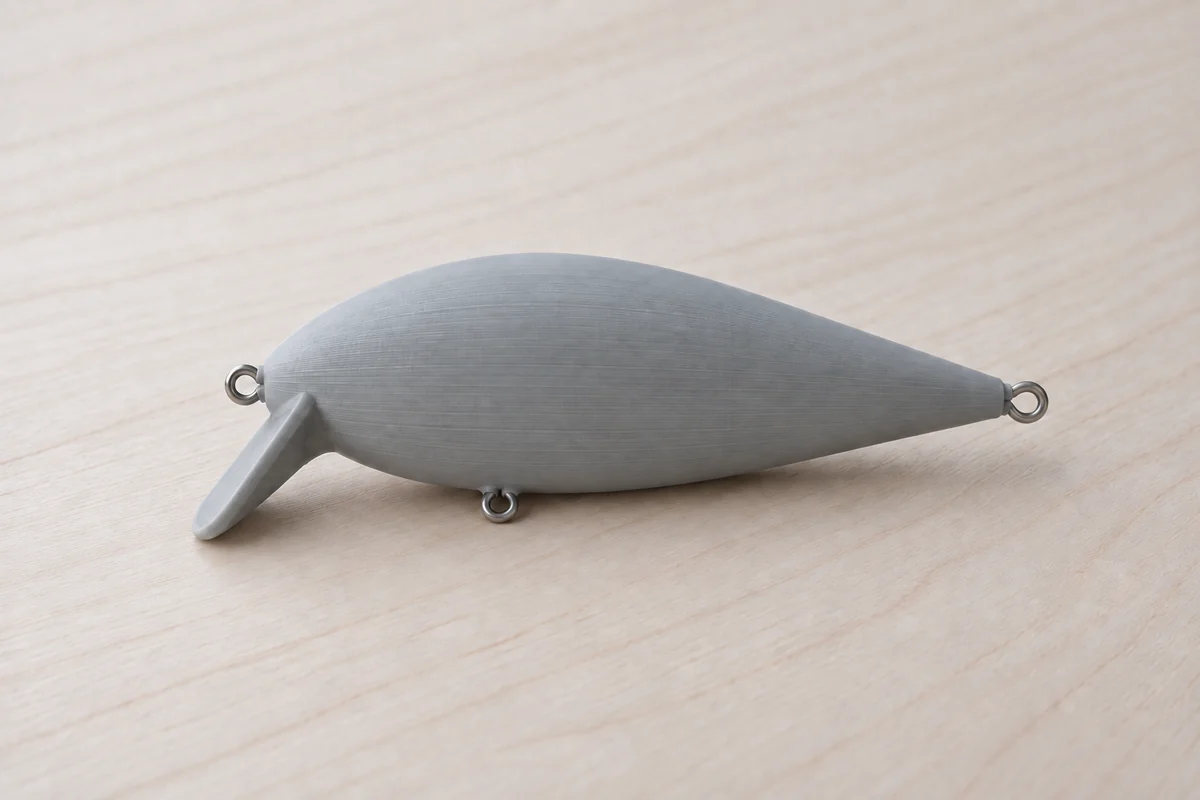
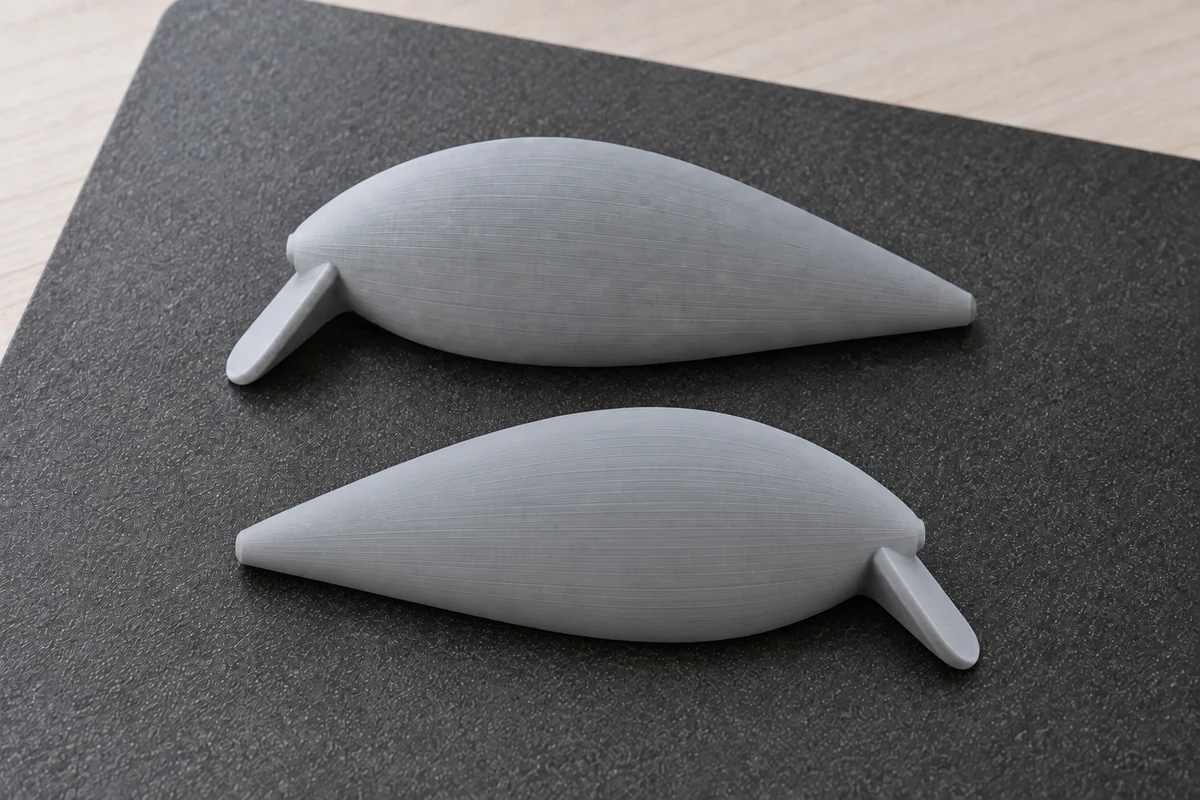
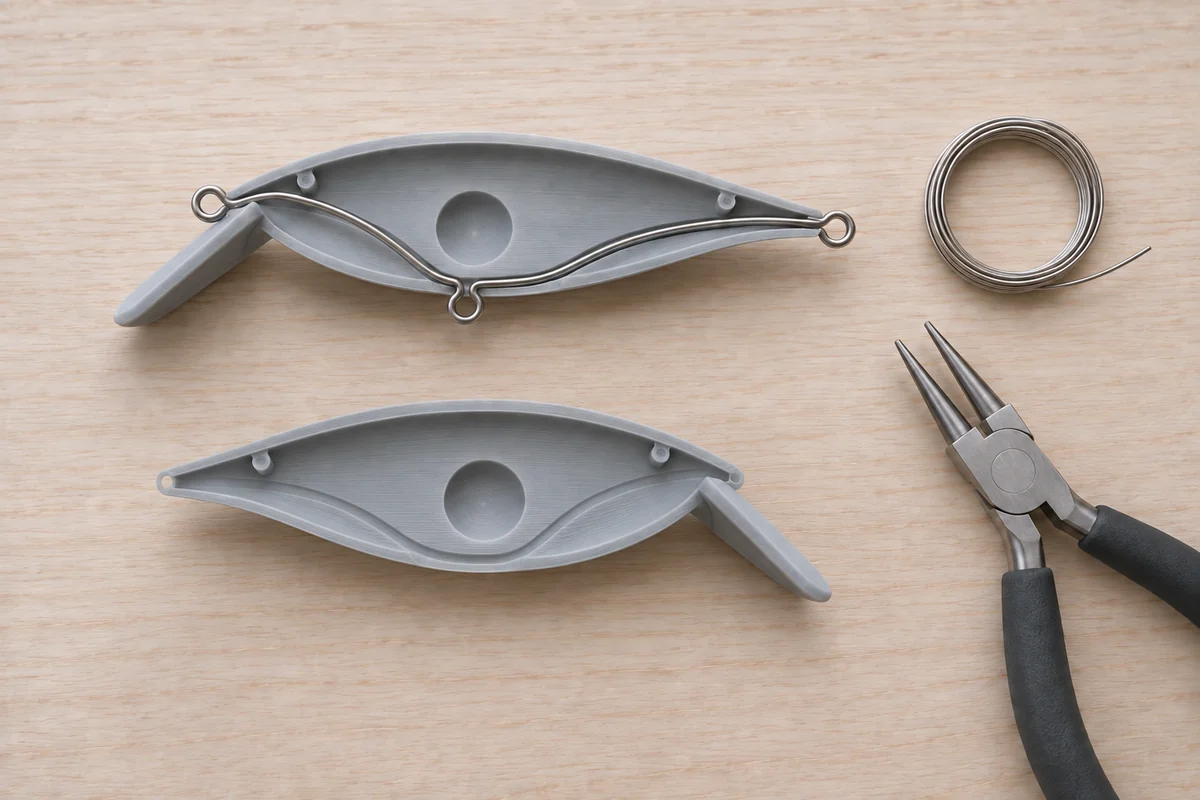
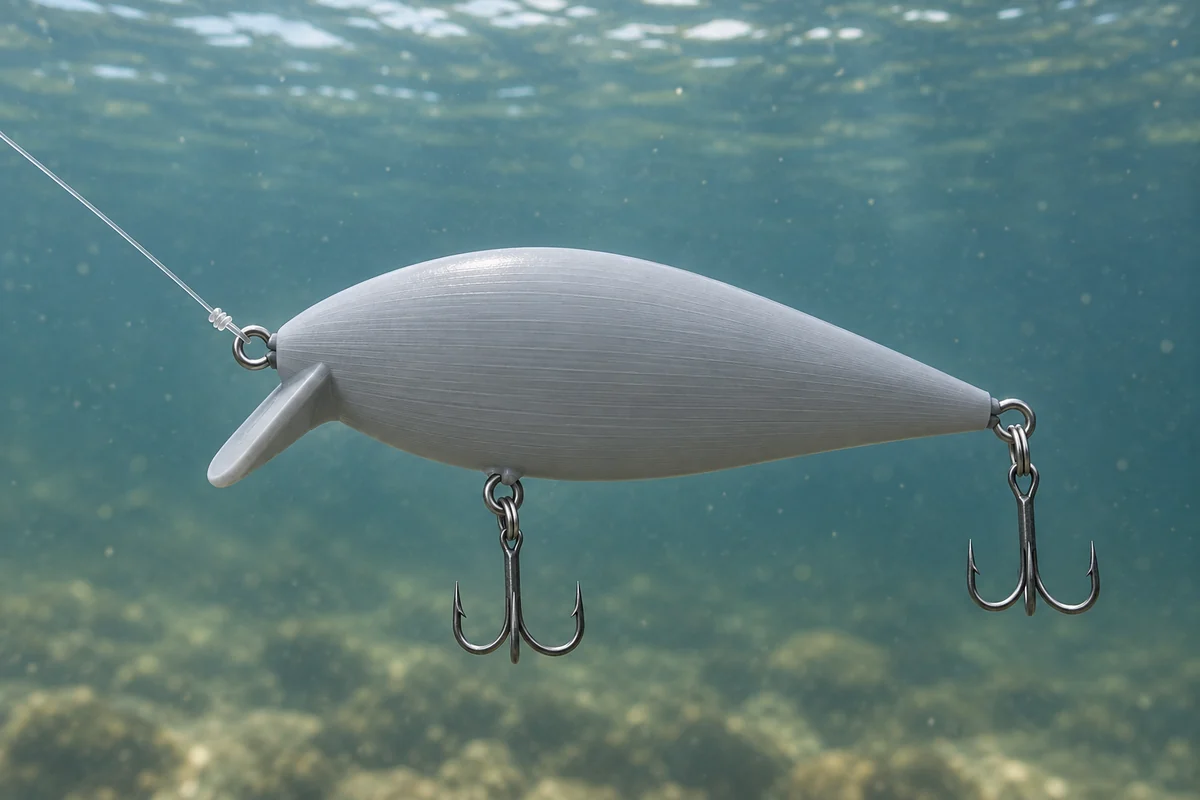
Build illustrations. Follow the dimensions and assembly steps supplied with your files.
Open the STL or pre-arranged 3MF in Bambu Studio, PrusaSlicer, Cura or OrcaSlicer. Parts sit flat on the bed and print without supports.
Any FDM printer with a 220 × 220 mm bed or larger. Every part fits the Creality Ender 3 — our deliberate size limit. The print guide in every package has dialed-in sections for Bambu Lab A1/P1S/X1C, Prusa MK4 and Creality Ender 3.
Any common one: Bambu Studio, PrusaSlicer, Cura or OrcaSlicer. You get vendor-neutral STL files plus a generic 3MF — open, pick your printer, slice.
PETG is recommended for lures; PLA works for fit tests. Translucent filament lets you leave the diving lip free of color while painting the body. Expect translucency, not glass clarity, and seal either material with epoxy. Use the separate material and process instructions for molds and other gear. Read the transparent-filament guide.
No. All parts are oriented to print without supports — the orientation is already set in the 3MF.
Bambu Lab, Prusa, Creality and Ender are trademarks of their respective owners, named here to describe compatibility only. Fishing3D is not affiliated with or endorsed by them.
Bend your through-wire, hang your lures and turn them while the epoxy cures. Reusable tools for the required assembly and sealing steps.
No load ratings — these hold light lures, nothing more. The wheel needs a 5–6 rpm motor, the jig needs steel pins: not included, named exactly in each parts list.
Two-part molds for pouring your own soft plastics — print the plate twice, clamp, pour. Printed molds are good for dozens of pours, not industrial tooling. The pour guide with required safety steps is part of every package.
Plastisol is poured at ~170 °C — the included guide covers the required safety steps. PETG required for mold plates.
Rest heads for standard 3/8″ BSF banksticks. The thread prints with the part, ready to screw onto your bankstick.
No load ratings — a printed part is as strong as your print. Made to rest a fishing rod, not to secure anything.
Same printed 3/8″ BSF thread — raise your rest, split one stick into two, or put a camera where your rod is.
The camera adapter carries a stainless 1/4″-20 bolt (not included) — a printed part never holds your camera alone: use a leash. No load ratings, not a securing device.
Rod tube mounts for 1″ gear tracks and round rails — printed holder plus stainless hardware you add yourself.
No load ratings — strength depends on your print and hardware. Always run a rod leash. Not a securing device.
Wall storage for your rods — printed brackets with rounded cradles, for the garage, basement or tackle room. You add screws and anchors to match your wall.
No load ratings — a printed bracket is as strong as your print and your wall anchors. Mounting into studs or proper anchors is a required step; screws and anchors not included.
Choose your filament, assemble your first lure and learn how to seal it. Practical guides for your next build.
3D Printed Fishing Lures: What Actually Works3D printed fishing lures explained: what a printable wobbler needs, why through-wire and epoxy sealing are required, and what dive depth really means.How to Seal 3D Printed Fishing Lures (Epoxy Guide)How to seal 3D printed fishing lures with epoxy: why FDM prints need sealing, the two-coat technique, cure times, and mistakes that cause waterlogging.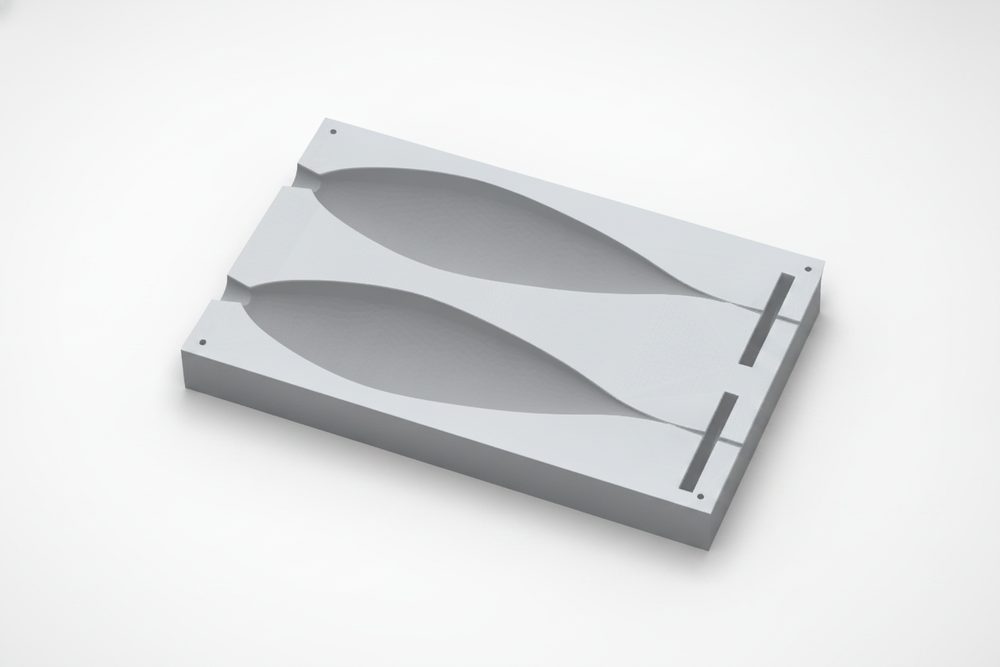 3D Printed Soft Bait Molds: Pouring Your Own Soft Plastics3D printed soft bait molds explained: how two-part PETG molds work, plastisol pouring basics, required safety steps, and an honest look at mold lifespan.