Transparent PLA or PETG for Fishing Lures?
Print a translucent diving lip, paint the body and keep the lip free of color. What clear filament can do, how to finish it and what to test first.
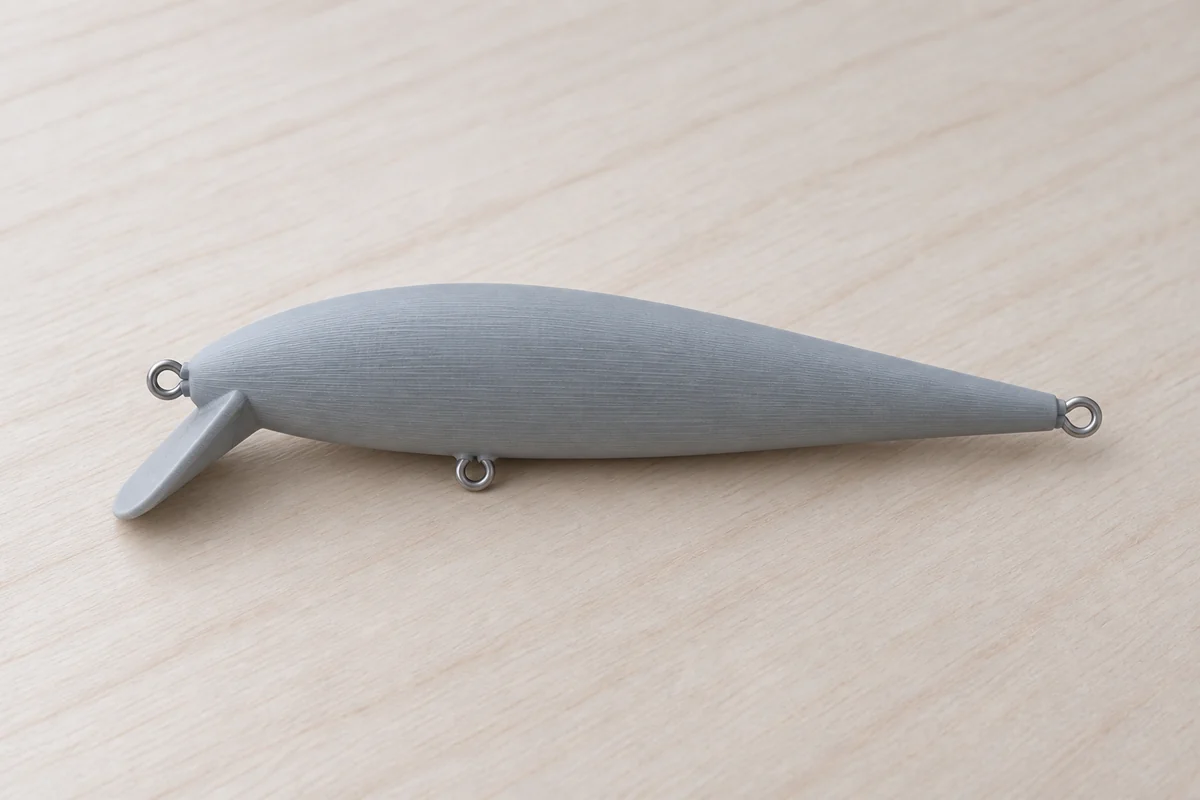
Choose translucent filament if you want to paint the body and leave the diving lip free of color. Our crankbait and minnow lips print with the body halves, so the filament you choose also sets the starting appearance of the lip. You do not need a second material for that finish.
Choose the material and the finish separately
PETG remains our recommended starting material for lures. PLA is useful for first prints and fit checks, including experiments with a translucent finish. PLA is more heat-sensitive; a clear color does not change that. Check the particular filament maker’s material data and use the matching slicer profile. Prusa’s PLA guide and PETG guide explain the differences.
- Translucent PLA: an option to try with a familiar PLA setup. Expect a frosted appearance rather than a glass-clear part.
- Clear or translucent PETG: worth comparing if you want a more see-through finish while keeping PETG as your base material.
- White filament: a light starting color for an opaque paint scheme. White plastic still needs the surface preparation your coating requires.
Formulations differ. Bambu describes its own PLA Translucent as frosted and its PETG Translucent as more see-through. That comparison is not a guarantee for every spool or printed lip.
Paint the body, keep the lip free of color
- Dry-fit the halves, pins and through-wire. Complete the assembly steps for your exact build before finishing.
- Mask the diving lip while preparing, priming and painting the body. Keep its edges and angle intact.
- Use a primer and paint system suitable for your plastic. Try the full coating sequence on a spare print first. Transparent plastic does not make paint adhere better; preparation still matters. See Prusa’s surface preparation and painting walkthrough.
- Remove the paint mask, then apply the required compatible clear epoxy seal, including the lip and its seam. Follow the coating instructions for preparation and full cure. Keeping the lip free of paint does not mean leaving it unsealed.
Clear coating cannot guarantee optical clarity. Avoid thick runs that change the lip’s shape. The painting guide and sealing guide cover the rest of the finish.
Keep the first comparison useful
Start with the supplied lure geometry, wall count and infill. Do not copy a solid “glass print” recipe into a floating lure just for appearance: the added material changes its mass. Record the spool, settings, finished weight and how the lip looks before and after coating. Then check sealing, buoyancy and action in water.
We are currently trying transparent PLA on our own comparison prints. Clarity after sealing, coating adhesion and durability in use are still to be checked. This is a finish option to explore, not a tested upgrade for every Fishing3D build.
Frequently asked
Will transparent PLA give me a glass-clear diving lip?
Not reliably. Layer lines, surface texture and internal gaps affect the result. Expect translucency first and check a small sample with your actual filament and profile.
Is transparent filament easier to paint?
It gives you the option to leave areas translucent. It does not replace surface preparation or primer. Mask the lip while priming and painting the body.
Should I change to 100% infill for clarity?
Keep the supplied lure profile for your first comparison. More infill changes weight and buoyancy. A profile made for transparent display objects is not a validated lure profile.
Every Fishing3D file ships with the guides that match it — print profiles, assembly, sealing, tuning. Ordering opens soon — leave your email for a single heads-up.