How to Paint a 3D Printed Fishing Lure (and Make It Last)
Painting 3D printed fishing lures: surface prep for PETG, primer, rattle can vs markers vs airbrush, simple patterns that work, and the epoxy top coat that makes paint survive.
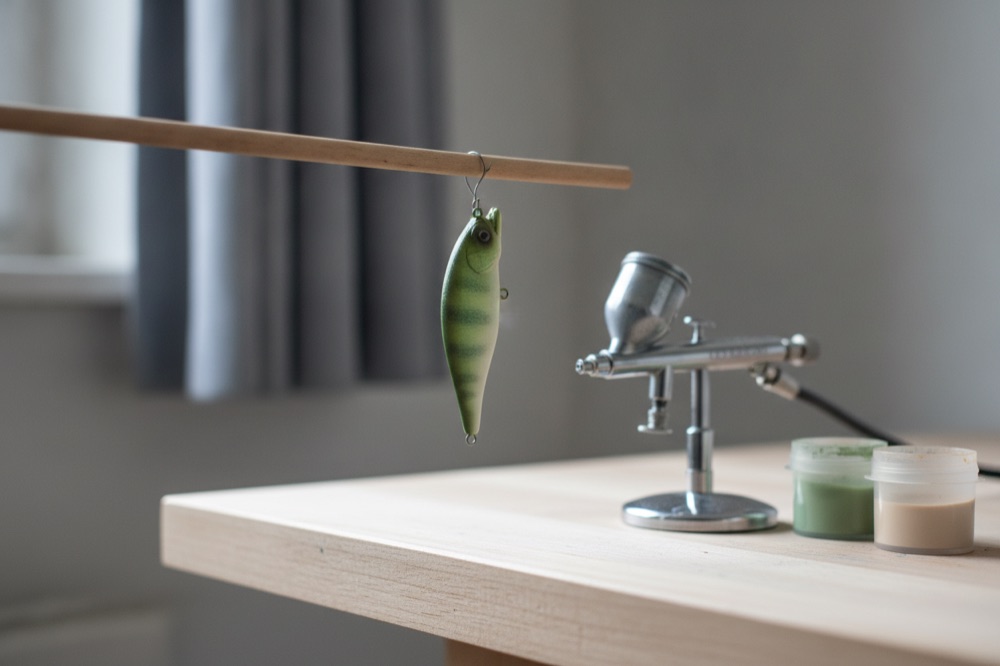
Painting is the step where a printed body becomes your lure — and the step people overthink most. The good news: fish are not art critics, simple patterns work, and the epoxy top coat will protect whatever you put under it. Here is the full path from grey print to finished lure, honestly ranked by effort.
A translucent diving lip
Transparent PLA or PETG lets you try a painted body with a lip left free of color. Keep the lip masked during body priming and painting, then seal it with compatible clear epoxy. Expect translucency rather than guaranteed glass clarity. Transparent PLA and PETG: leave the lip free of color. Transparent filament does not replace surface preparation or make PLA more heat-resistant.
Prep: two minutes that decide everything
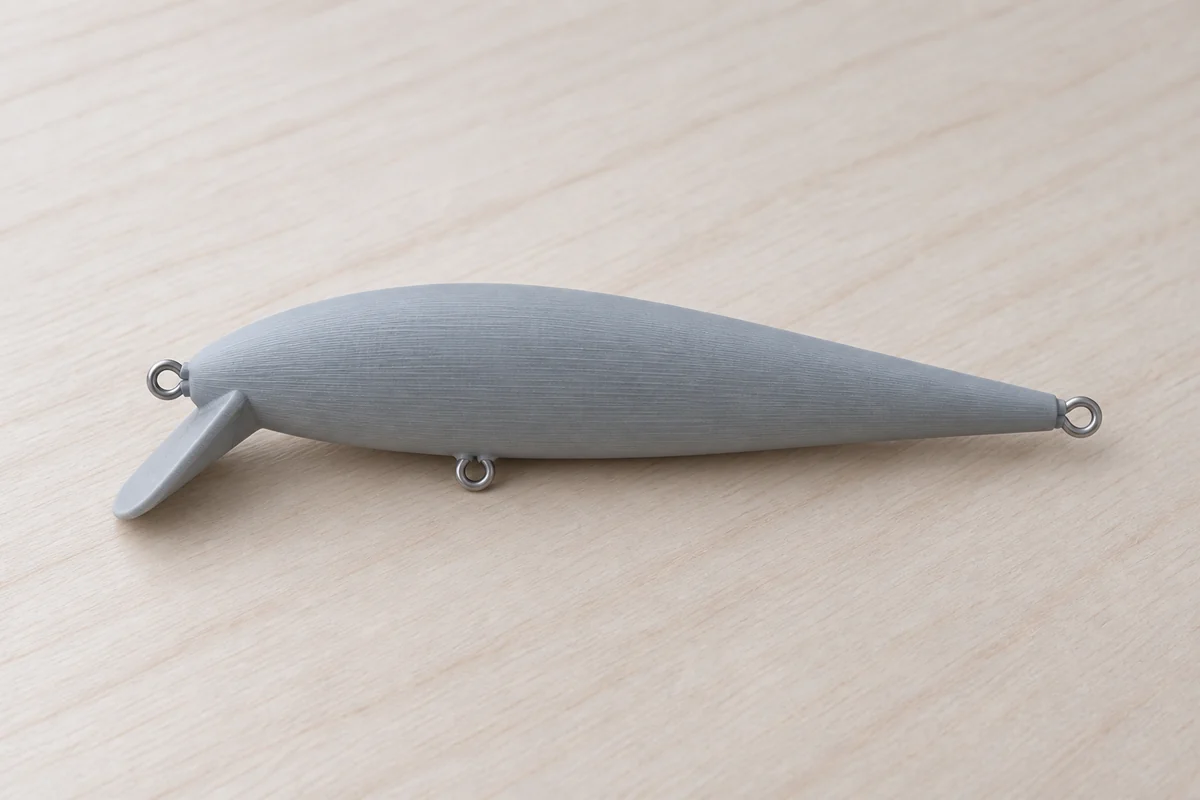
PETG comes off the printer glossy and slightly slick — paint on bare PETG scratches off with a fingernail. Two minutes fix that:
- Scuff the assembled body lightly with 320–400 grit sandpaper. You are not removing layer lines, just killing the gloss so primer can bite. (If you want layer lines gone, sand progressively — but plenty of builders keep them; under paint they read as subtle scale texture.)
- Degrease with isopropyl alcohol or dish soap and let it dry fully.
- Prime thin — one or two light coats of a plastic-suitable primer, white or light grey. White primer doubles as the belly color on most patterns.
Three ways to put color on, honestly ranked
1. Waterproof acrylic markers — the zero-setup start. On white primer, paint markers handle backs, bellies, gill spots and dots. No compressor, no cleanup, surprisingly good results. Limit: no soft gradients.
2. Rattle cans — fast bulk color. A light-colored base coat and a darker back sprayed at a shallow angle takes minutes. Cans are cheap, but control is coarse and patterns stay simple.
3. Airbrush — the real thing. Soft gradients, perch bars over a stencil (a piece of netting works), fading gill blushes — this is where lure painting becomes a hobby of its own. An entry double-action kit with compressor is enough; thin acrylics to skim-milk consistency and build color in translucent layers. Of everything on the bench, this is the tool with the best fun-per-euro ratio.
Patterns: steal these three
- Baitfish: white belly (the primer), silver or pale grey flanks, dark grey-blue back. Optional black gill spot. Works everywhere.
- Perch: warm olive back, yellow-green flank, orange chin, dark vertical bars airbrushed through netting or cut stencil.
- Firetiger: chartreuse body, orange belly, black back and bars — when the water is murky and subtle is pointless.
Eyes: stick-on 3D eyes under the epoxy coat are the highest impact-per-effort detail on the whole lure. Our lure bodies carry a shallow eye recess that stick-on eyes sit into cleanly.
The top coat is not optional
Paint without armor dies on the first gravel bank. The final step is always the epoxy seal — one or two thin coats of clear 2K epoxy over the finished paint, rotated while curing so it self-levels without drips (this is exactly what the drying wheel exists for). The epoxy does double duty: it waterproofs the body and it is the wear layer that keeps your paint job alive. When the coat gets chewed up seasons later, scuff and re-coat — the paint underneath survives.
A note on honesty
Will a hand-painted perch pattern out-fish plain grey? Some days. Will it make you fish that lure with more confidence and therefore better? Almost certainly. That is a real edge — just not the one the paint ads sell. Paint because it makes the lure yours; seal because that makes it last.
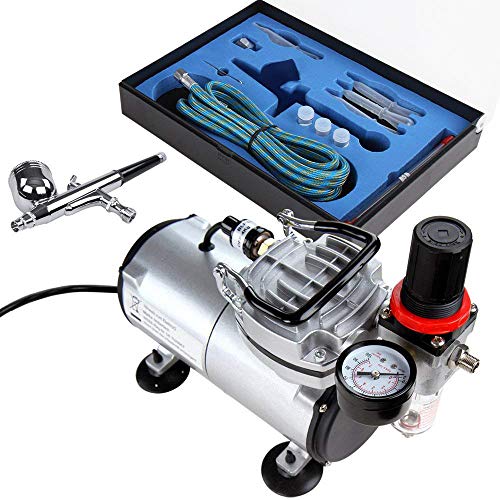 Airbrush kit with compressorOptional. Brushes and paint markers work too.
 2K epoxy, crystal clear (500 ml)The required sealing step — one small kit covers many lures.
Frequently asked
Do I need an airbrush to paint lures?
No. An airbrush gives the softest gradients and is the most fun per euro of any lure-making tool, but rattle cans and waterproof acrylic markers produce fish-catching finishes too. Many builders start with markers and a white primer base, then upgrade.
What paint sticks to PETG?
On bare PETG, adhesion comes from prep: a light scuff with 320–400 grit and a degrease, then a thin plastic primer. On top of primer, ordinary water-based acrylics work — airbrush, brush or marker. The epoxy top coat locks everything down regardless.
Do I paint before or after assembly?
Assemble the body halves with the wire and ballast first, then paint, then seal with epoxy as the final step. Never paint over the epoxy — paint goes under the armor, not on top of it.
Which colors actually catch fish?
The honest answer: color catches anglers first. Contrast and confidence matter more than any specific pattern — a dark back with a light belly covers most water. Match roughly what the fish eat (perch, roach, craw) and fish it with conviction.
Can I skip paint entirely?
Yes. A sealed, unpainted grey body fishes — plenty of classic lures run in bone or plain white. If you like the raw print look, seal it and go. Paint is for you as much as for the fish.
Every Fishing3D file ships with the guides that match it — print profiles, assembly, sealing, tuning. Ordering opens soon — leave your email for a single heads-up.