DIY Lure Drying Wheel: 3D Printed, Motor Not Included
A 3D printed lure drying wheel for even epoxy coats: 6 or 12 lures, a universal hub with shaft adapters, and the 5–6 rpm motor you'll need to source.
Rotation is the least glamorous step in finishing a 3D printed lure, and the one that decides how the epoxy coat hardens. This guide covers our printable lure drying wheel — six or twelve lures, a universal hub with shaft adapters, motor not included — plus the drying rack and the wire bending jig.
Why lures rotate while epoxy cures
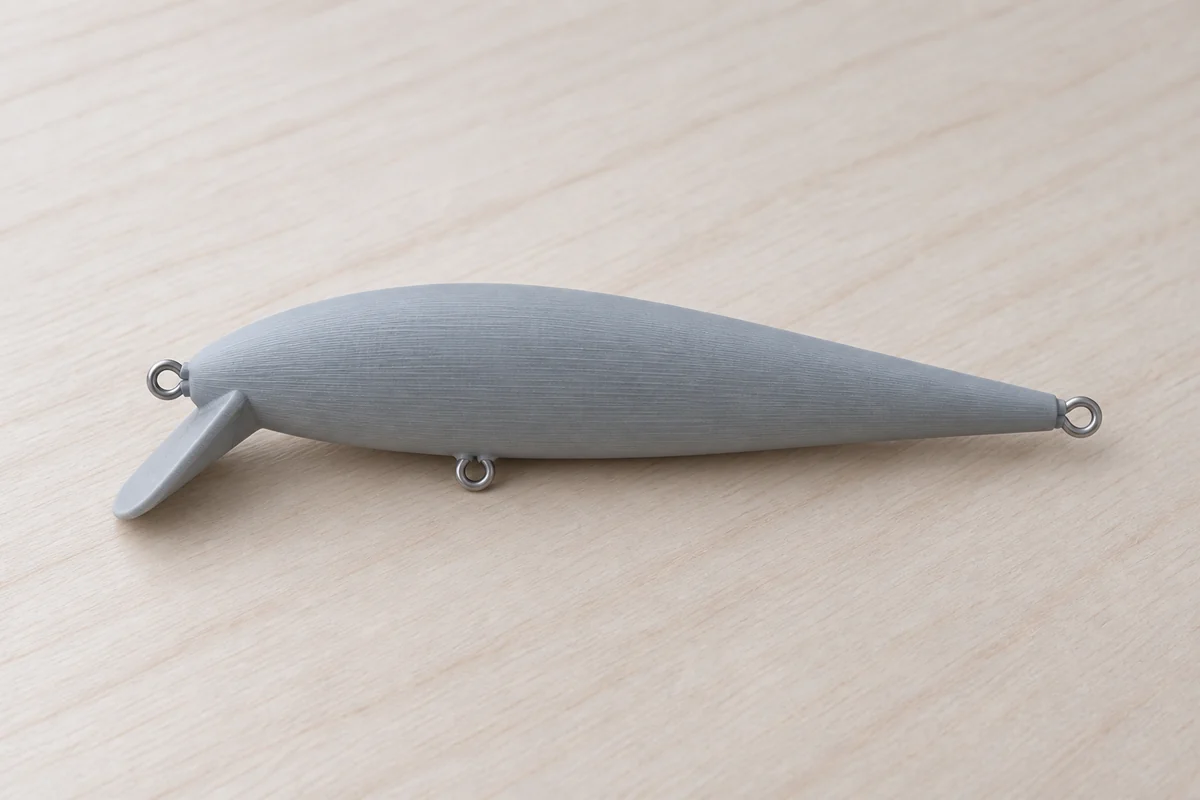
Epoxy stays liquid for a while after you brush it on; hang a coated lure still and gravity pulls it to the lowest point — a sag along the belly, a run down one flank, or a hardened bead on the nose. A drying wheel never lets any one spot stay lowest: at a few rpm the low side keeps changing, so the epoxy levels itself instead of pooling — the same reason rotisserie ovens turn. The coating process — mixing ratio, two thin coats, cure times — is covered in our guide to sealing 3D printed lures; the wheel serves its final step, keeping the last wet coat even until it is past tack-free. Typically that means 4–8 hours; overnight is safer.
The printed wheel: six or twelve lures
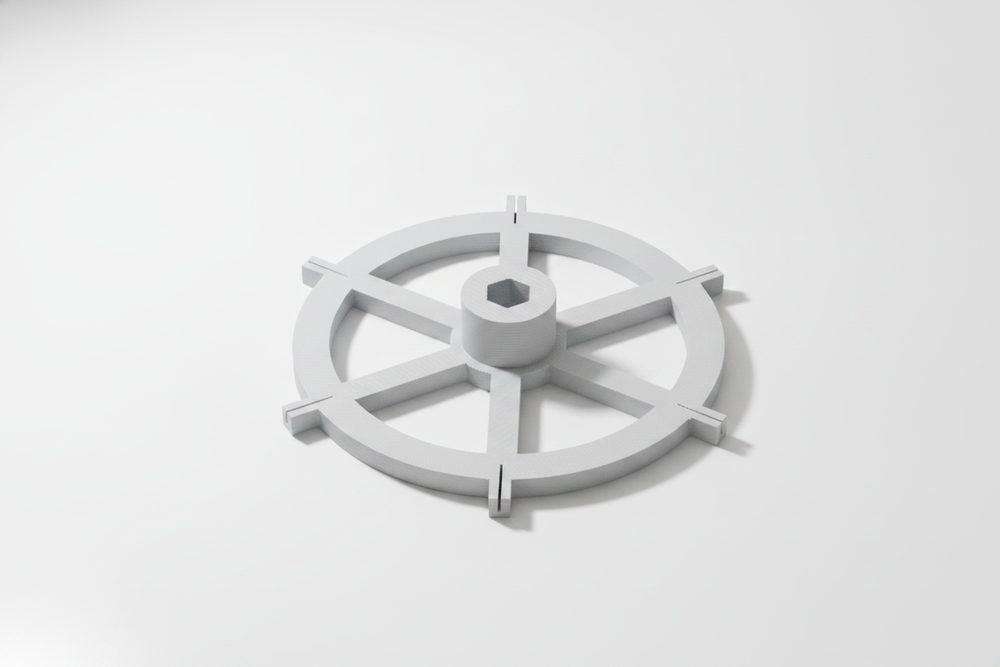
The wheel comes in two sizes: the Drying Wheel 6 ($9) holds six lures, the Drying Wheel 12 ($10) holds twelve. Both load the same way: press a wire eye radially into a kerf in the rim. Each kerf tapers from 1.0 mm at the mouth to 0.55 mm inside, so it wedges onto any wire between 0.8 and 1.0 mm — the cheeks act as springs.
Load opposite pairs where you can — the wheel is balanced empty, and six lures on one side will make a slow motor stall or sing. If a kerf loosens after many uses, a rubber band around the rim holds the eye; the file is yours, so print a fresh wheel when the clips stop gripping.
One hub, three shaft adapters
Motors don't share a standard shaft, so the hub doesn't gamble on one. It is a hex socket — 12.0 mm across flats, 16 mm deep — and three printable inserts ship with the files: adapter-d6 for a Ø6 mm D-shaft, adapter-d7 for a Ø7 mm D-shaft, adapter-sq8 for an 8 mm square shaft. Each pushes in by hand as a slip fit; if it sits loose, a drop of superglue fixes it permanently, so be sure of your motor first. If none of the three matches, the hex also seats a plain Ø12 mm round coupler — bond or screw your own in. That is the honest limit of a printed part: three common shafts, not every motor. A caliper takes ten seconds and saves a print.
Choosing the motor — not included
Neither wheel ships with a motor. You need a synchronous gear motor at 5–6 rpm — the type sold as a barbecue rotisserie motor, or salvaged from a microwave turntable. Direction doesn't matter; above roughly 10 rpm you throw epoxy instead of levelling it.
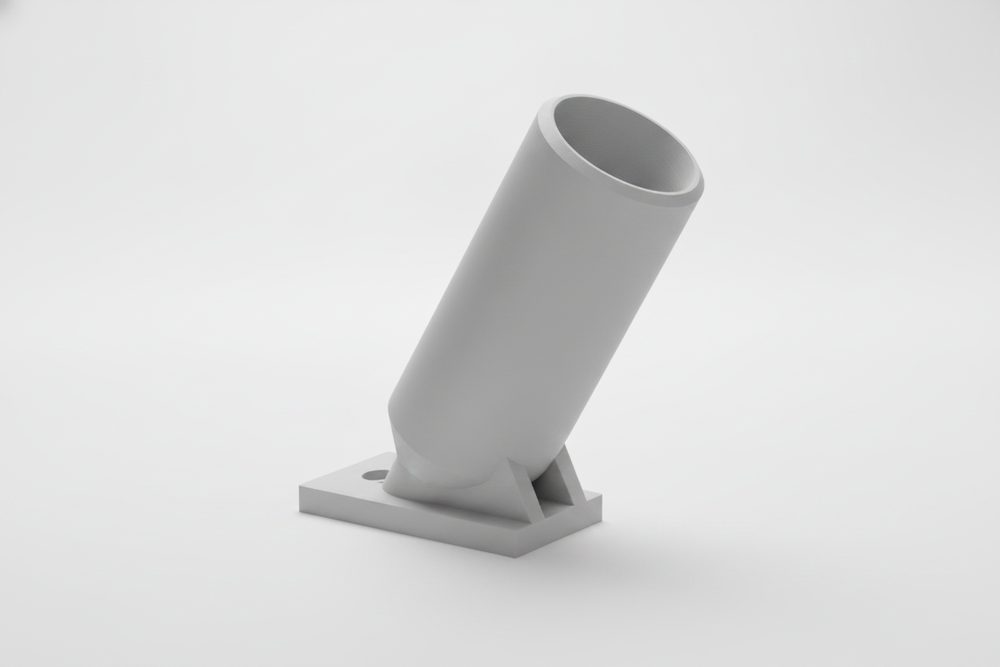
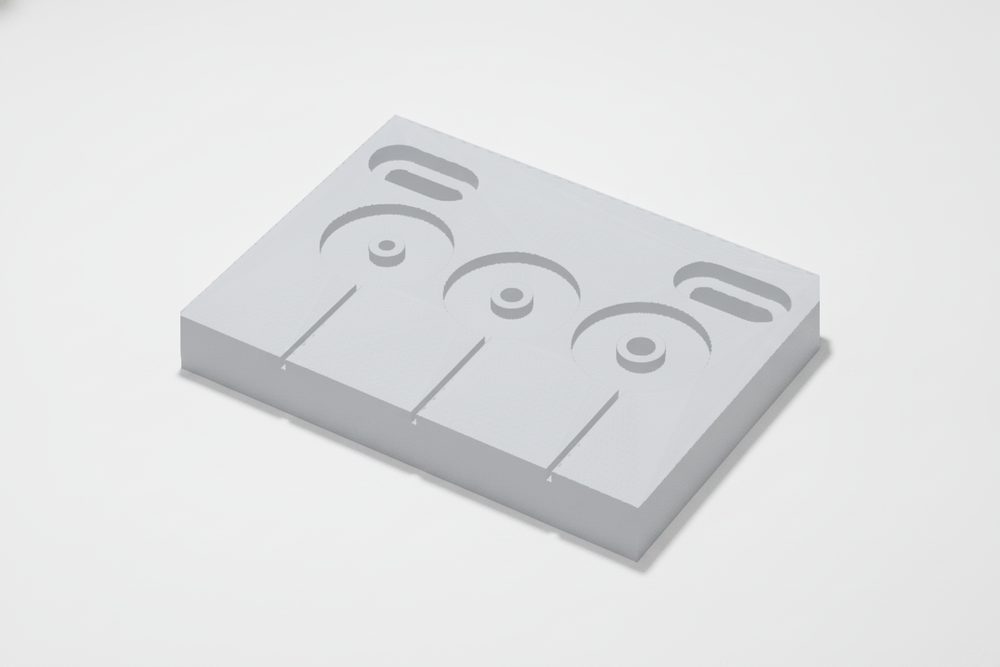
Mounting runs through a printed console: a flat plate with elongated M4 slots on eight radial rays, 14–36 mm from center. That covers most two- and four-hole motor bolt patterns; if yours lands on nothing, the plate is 6 mm of PETG — drill it. Bolt the motor to the console, then screw the console to a board or wall through its four corner slots, high enough that the wheel's center clears the wheel radius plus your longest lure plus a hand's width — for the twelve-lure wheel, roughly 100 mm plus lure plus margin.
The drying rack: the simple alternative
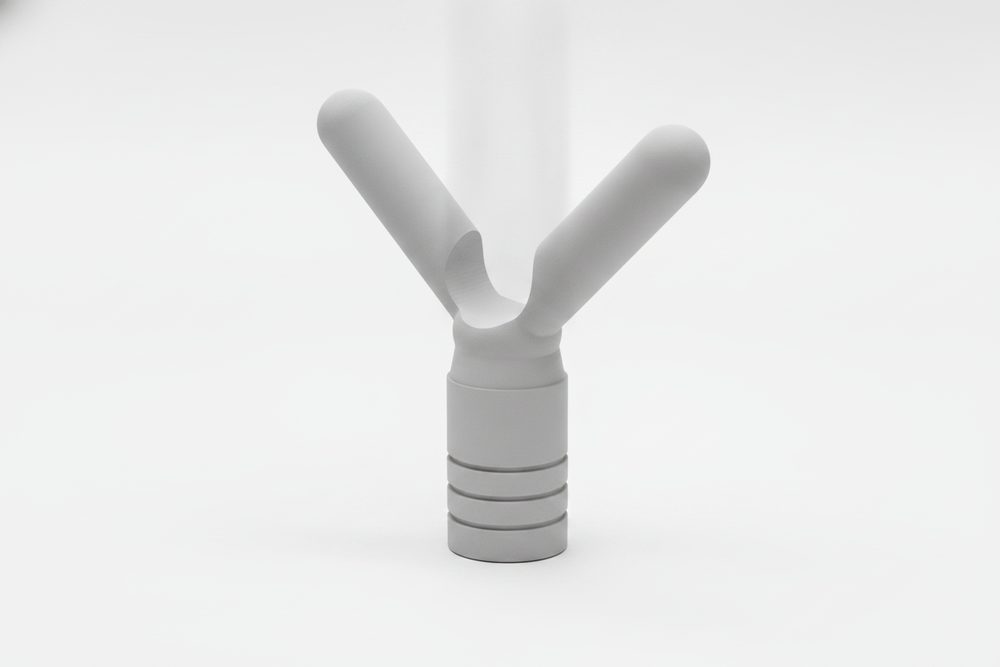
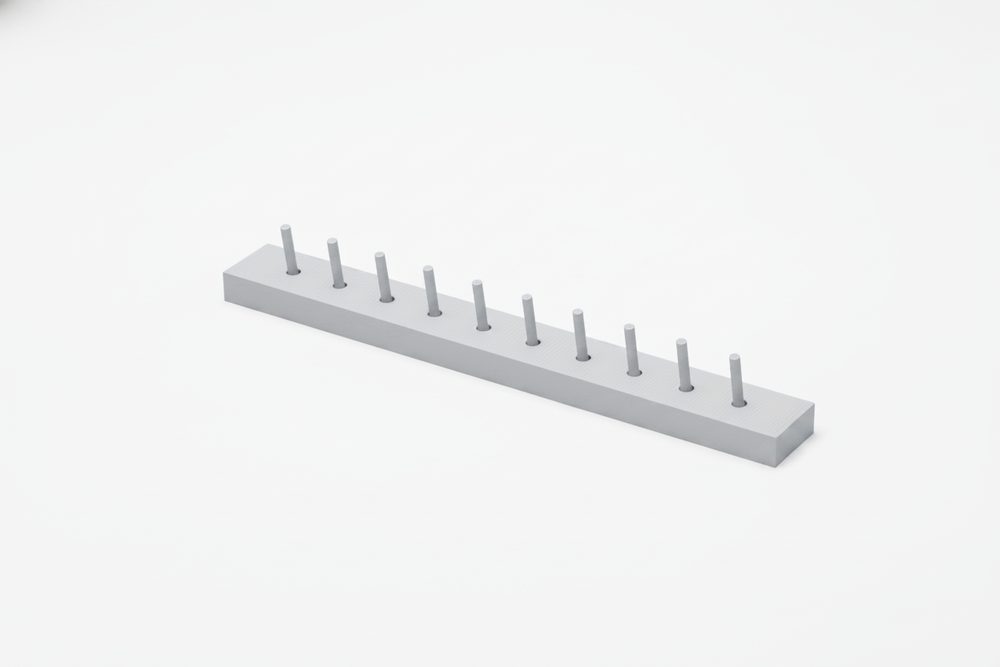
Not every cure needs a motor. The Drying Rack ($5) is a beam with ten pegs at 18 mm spacing and two slide-on feet — no motor, no hardware, nothing to glue. The pegs rake upward about 12 degrees, with a cone at each root that seats a wire eye; hang lures nose up so drips run off the tail. It's the right tool between coats in the two-thin-coats routine, and for thin coats, which don't hold enough wet epoxy to sag. Its known cost is a small hardened bead at each lure's lowest point — exactly what the wheel exists to prevent.
The wire bending jig: the third helper
The Wire Bending Jig ($6) has nothing to do with drying — it forms the wire eyes those kerfs and pegs hold. It bends consistent nose, belly and tail eyes in 0.8–1.0 mm stainless wire, with stations for Ø3, Ø4 and Ø5 mm steel pins — the mandrel diameter is the eye diameter. The pins are not included; the shank of a 3 mm HSS drill bit is the cheapest source. Why those eyes matter is covered in our guide to through-wire construction — the load-bearing skeleton every lure in our catalog requires.
Printing the parts
PETG is recommended for the whole set; PLA works in a dry room but creeps under steady load. No part needs supports — every feature prints in open air. Print the wheel and console flat with the hub boss up at 3–4 perimeters and 25% infill, the adapters flange-down at 4 perimeters and 40%. Every part fits a 220 mm bed, but the wheel needs a plate of its own; the console and adapters share a second.
Honest limits
These are printed tools, not rated equipment. We publish no load figures; the wheel is for light lures only, and none of these parts should hold anything that matters if it falls. The adapter and console dimensions above come from the design spec — a physical fit check against common rotisserie motors is still ahead of us before these files go on sale, so this page gives you measurements to check against your own motor instead of a test report we don't have. And whatever turns the wheel, the epoxy rules from the sealing guide still apply: nitrile gloves, ventilation, and something under the wheel to catch drips — cured epoxy doesn't come off a table.

Frequently asked
Why do lures need to rotate while epoxy cures?
Epoxy stays liquid long enough for gravity to pull it to the lowest point of a hanging lure, leaving a sag, a run or a hardened drip on the nose. Slow rotation keeps changing which side is lowest, so the coat levels itself instead of pooling.
What motor do I need for the drying wheel?
A synchronous gear motor at 5–6 rpm — the type sold as a barbecue rotisserie motor or salvaged from a microwave turntable. It is not included. The mounting console has elongated slots on eight radial rays to fit most 2- and 4-hole motor bolt patterns, and you can drill it if yours hits nothing.
Should I print the 6-lure or the 12-lure wheel?
Match it to your batch size. The Drying Wheel 6 ($9) covers most hobby batches; the Drying Wheel 12 ($10) makes sense for bigger runs, but it needs more clearance on the wall — roughly 100 mm of radius plus your longest lure plus margin — and more care balancing the load.
Do I really need a wheel, or is the drying rack enough?
The $5 rack is enough between coats and for thin coats, where there isn't enough wet epoxy to sag — expect a small bead at the lure's lowest point. The wheel is for the final coat, when you want the epoxy to level evenly all the way around with nothing to sand off.
What is the wire bending jig for?
It forms the stainless wire eyes that the wheel's kerfs and the rack's pegs hold — consistent 3, 4 or 5 mm eyes in 0.8–1.0 mm wire. The steel mandrel pins are not included; the shank of a 3 mm HSS drill bit is the cheapest source.
Every Fishing3D file ships with the guides that match it — print profiles, assembly, sealing, tuning. Ordering opens soon — leave your email for a single heads-up.